Four Months in a Van: What We Ate
Words and photos by Miles Arbour
For the last four months, Miles and Emily have been cruising around the Western United States in search of trails, bikepacking routes, and good times. They are well aware that the internet is crammed full of vanlife stories already, yet they found a certain glamorization that didn’t quite align with their experience. Here is Miles’ honest look at simple van cooking tactics, as well as two easy recipes.
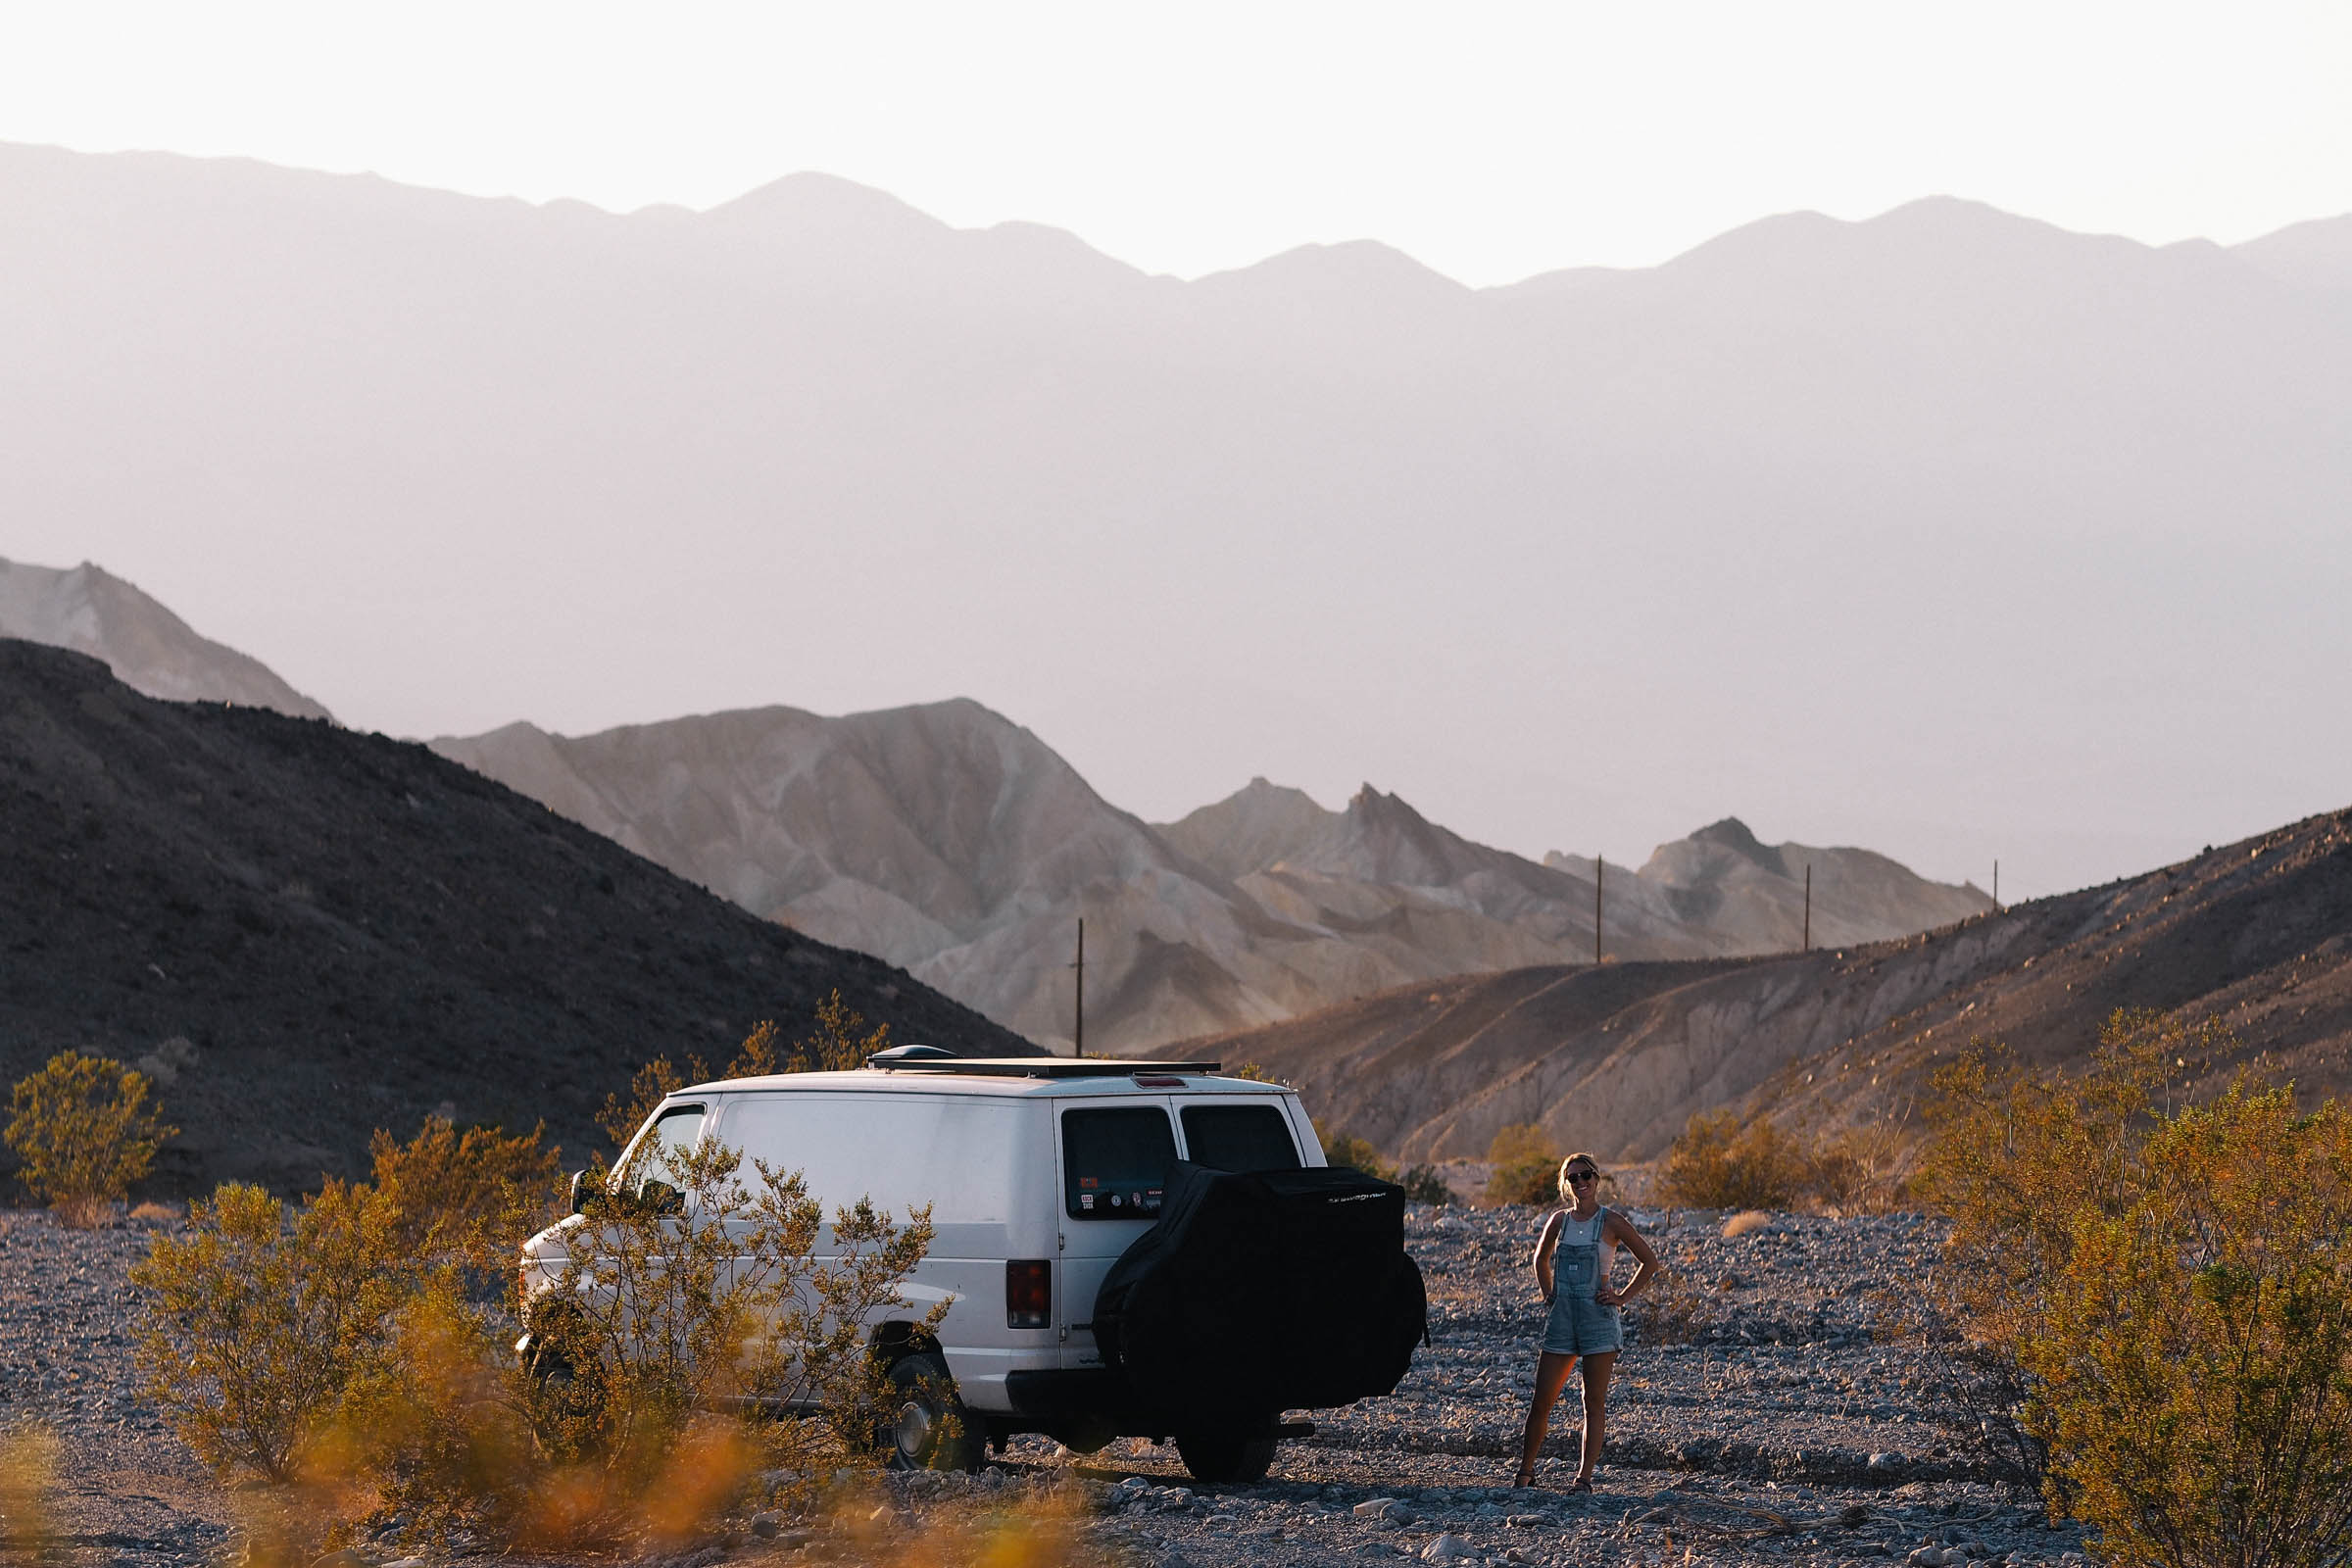
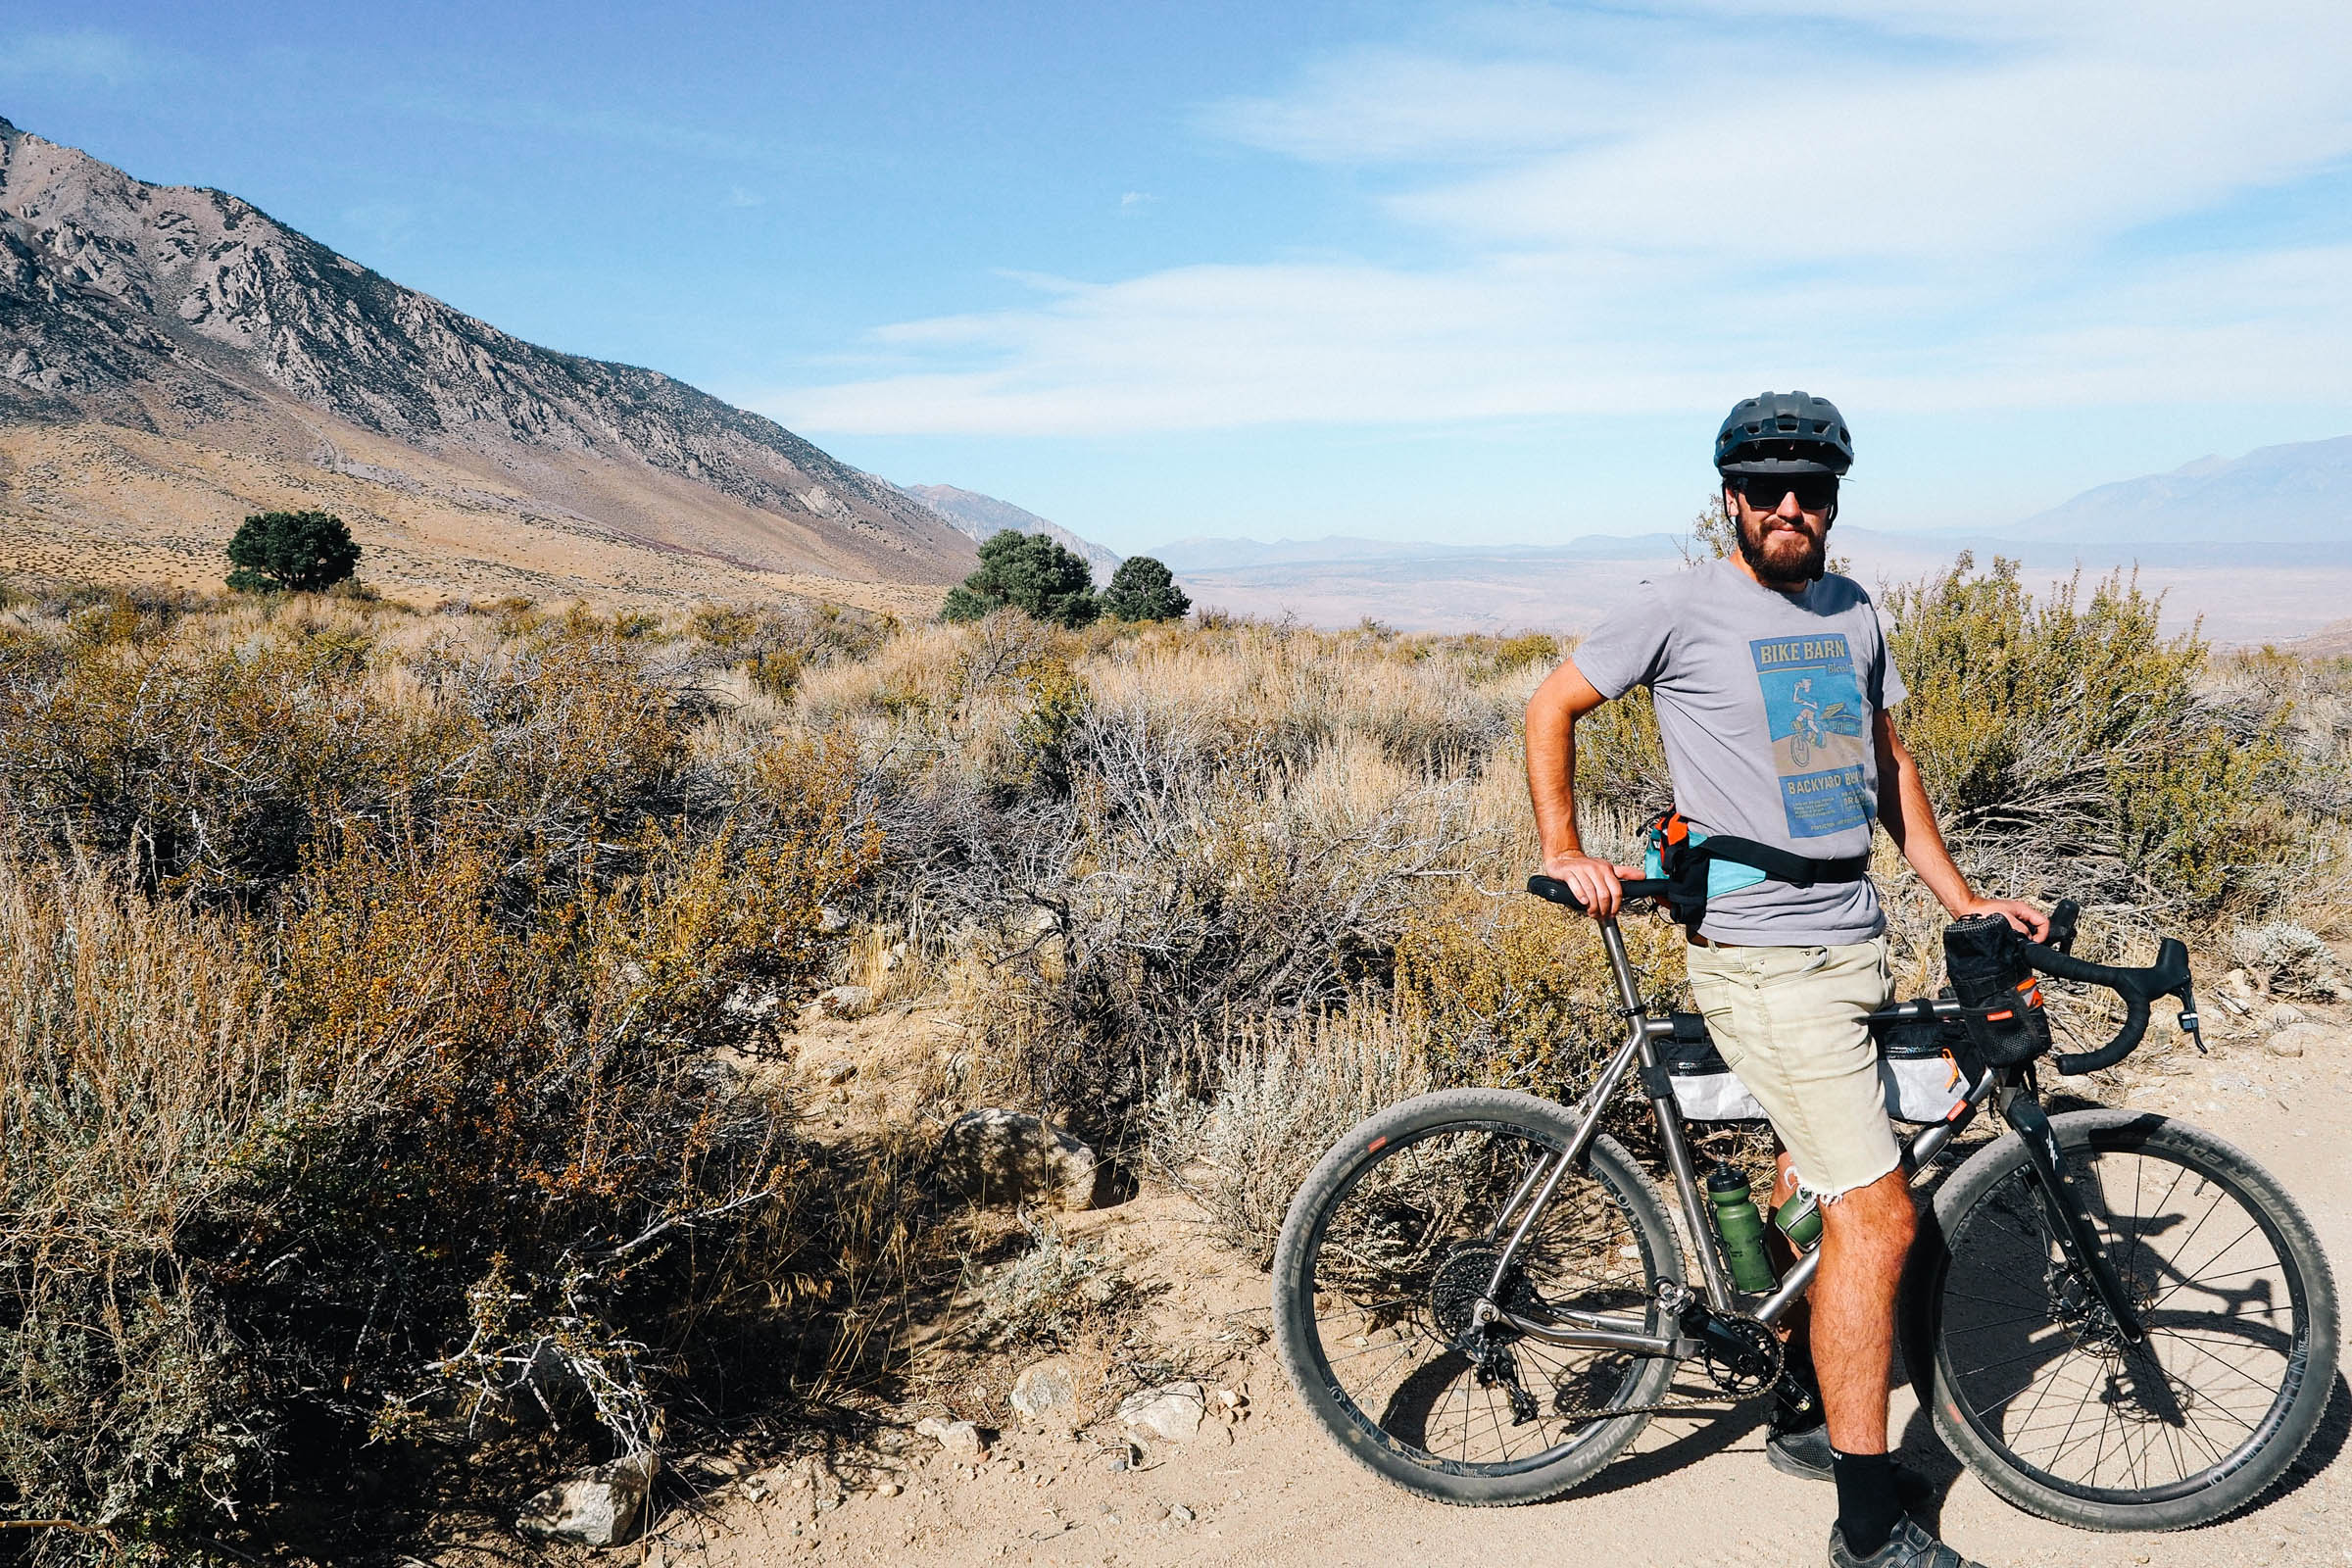
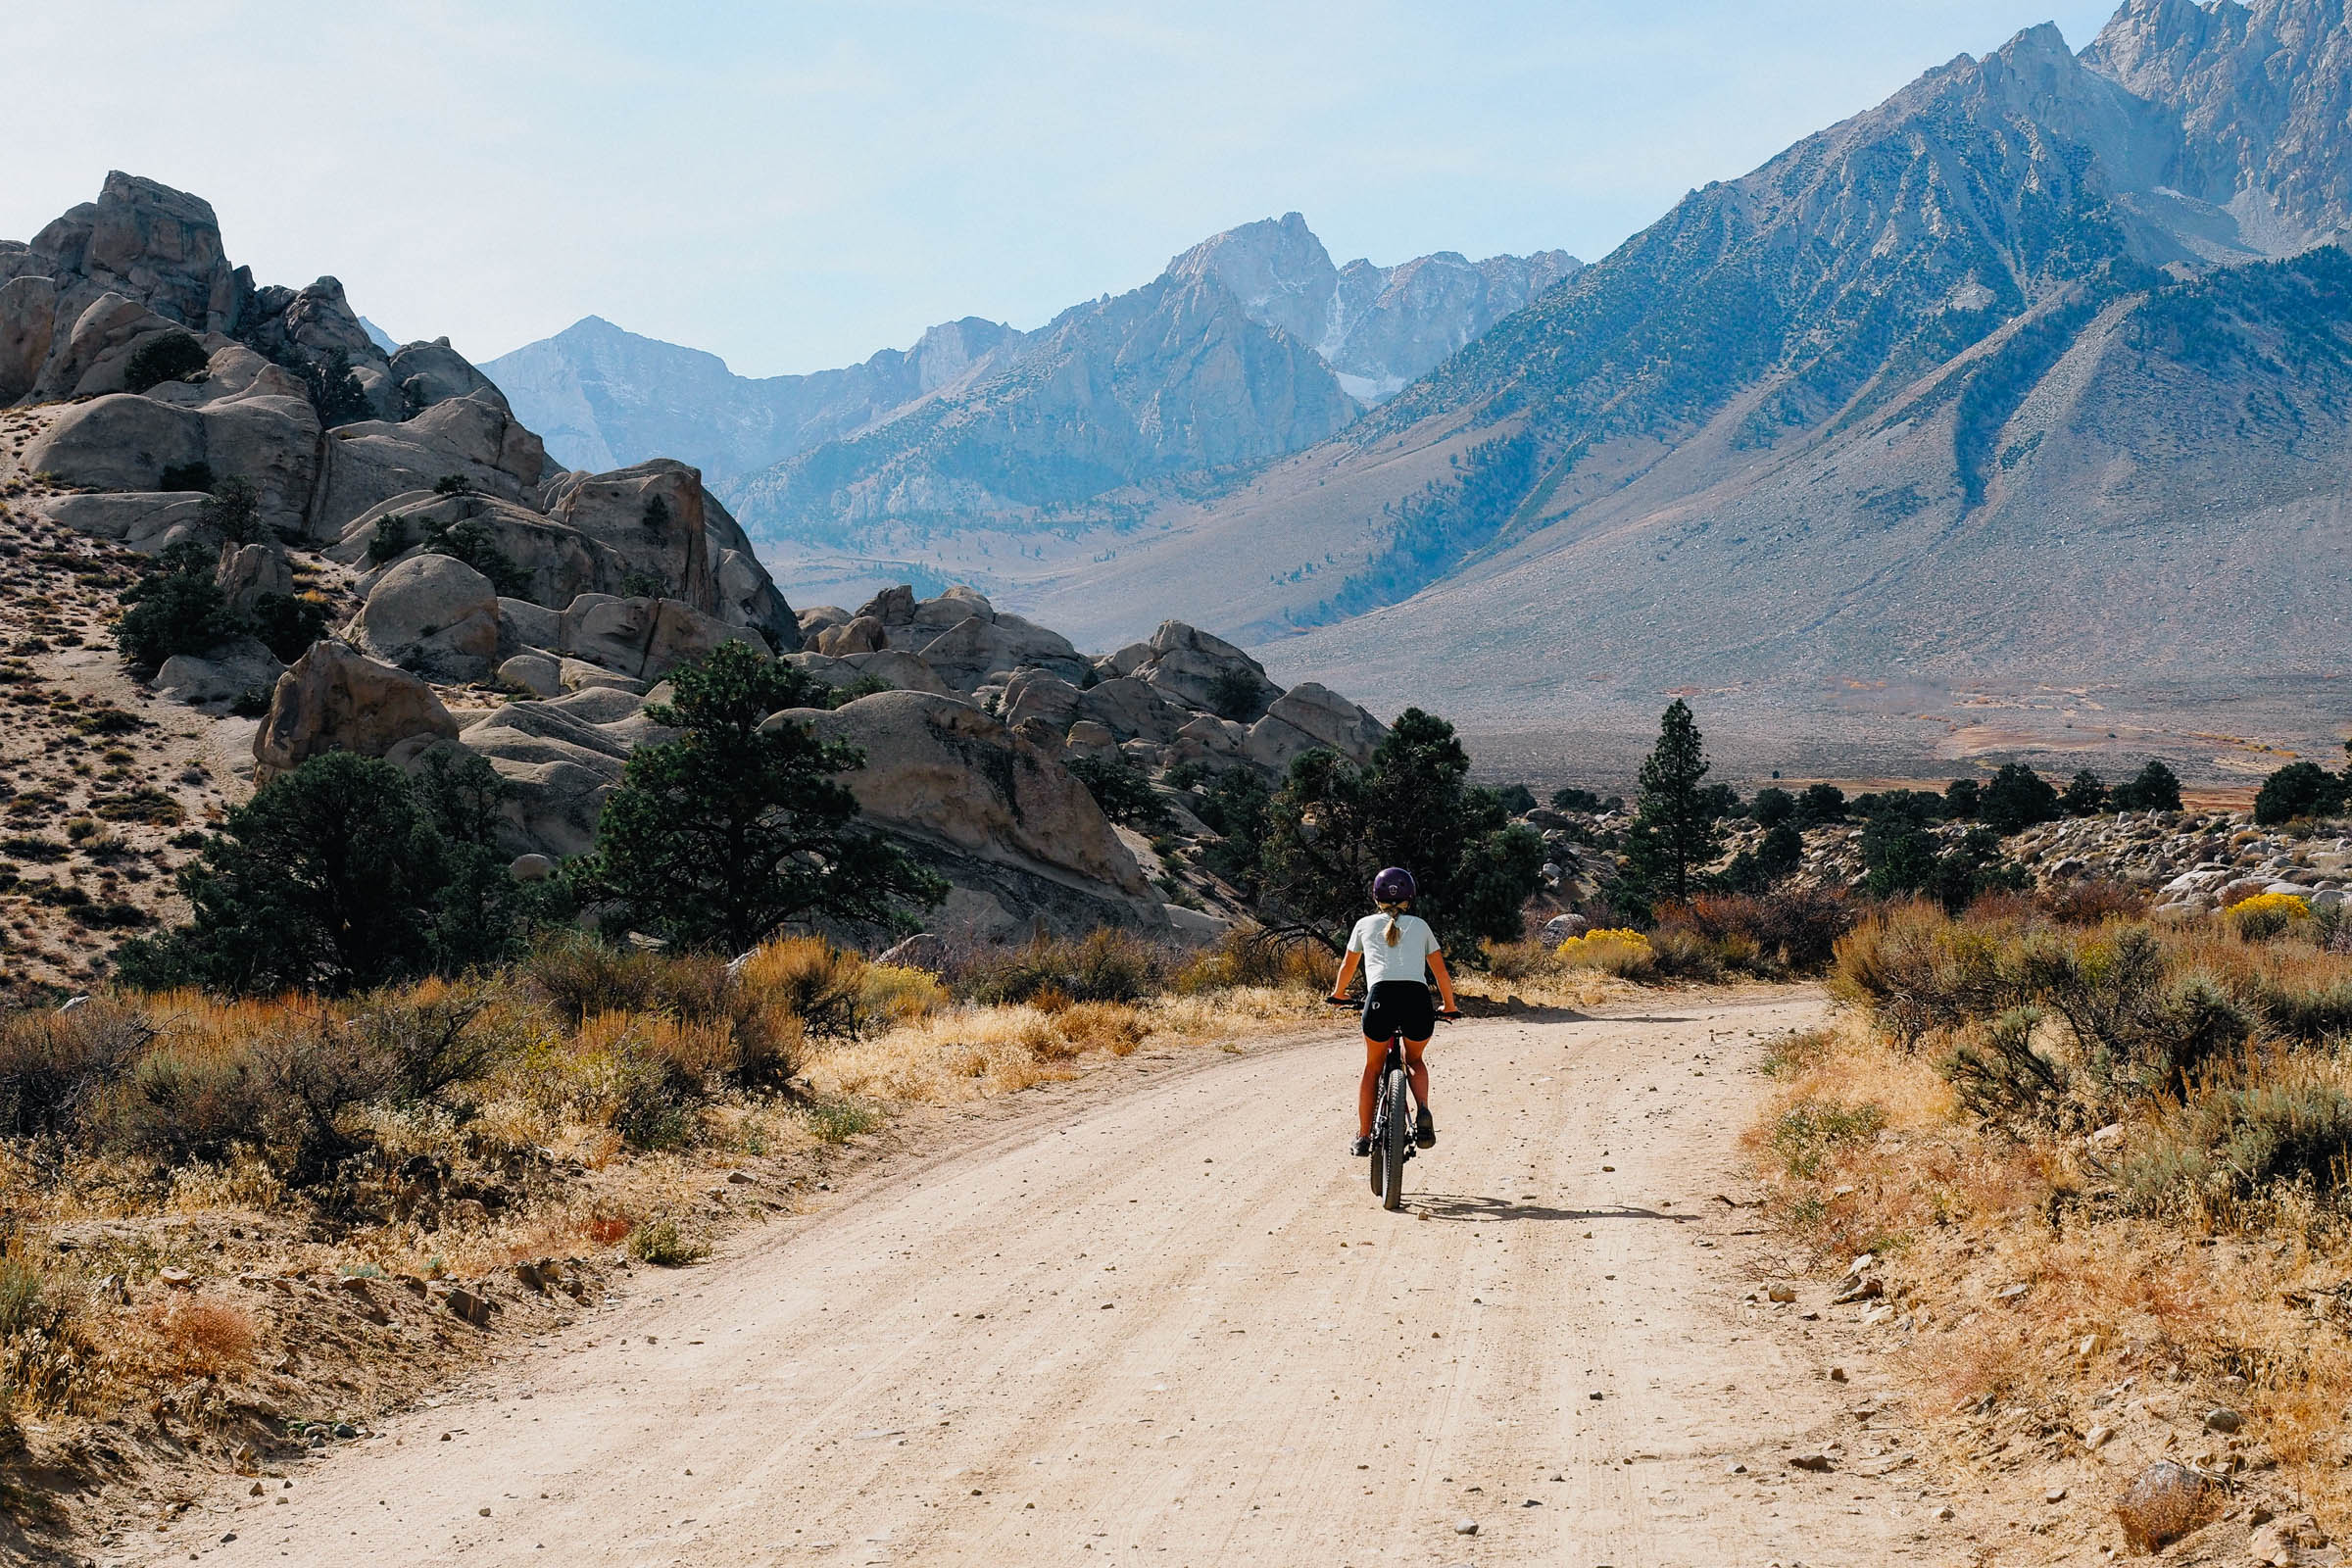
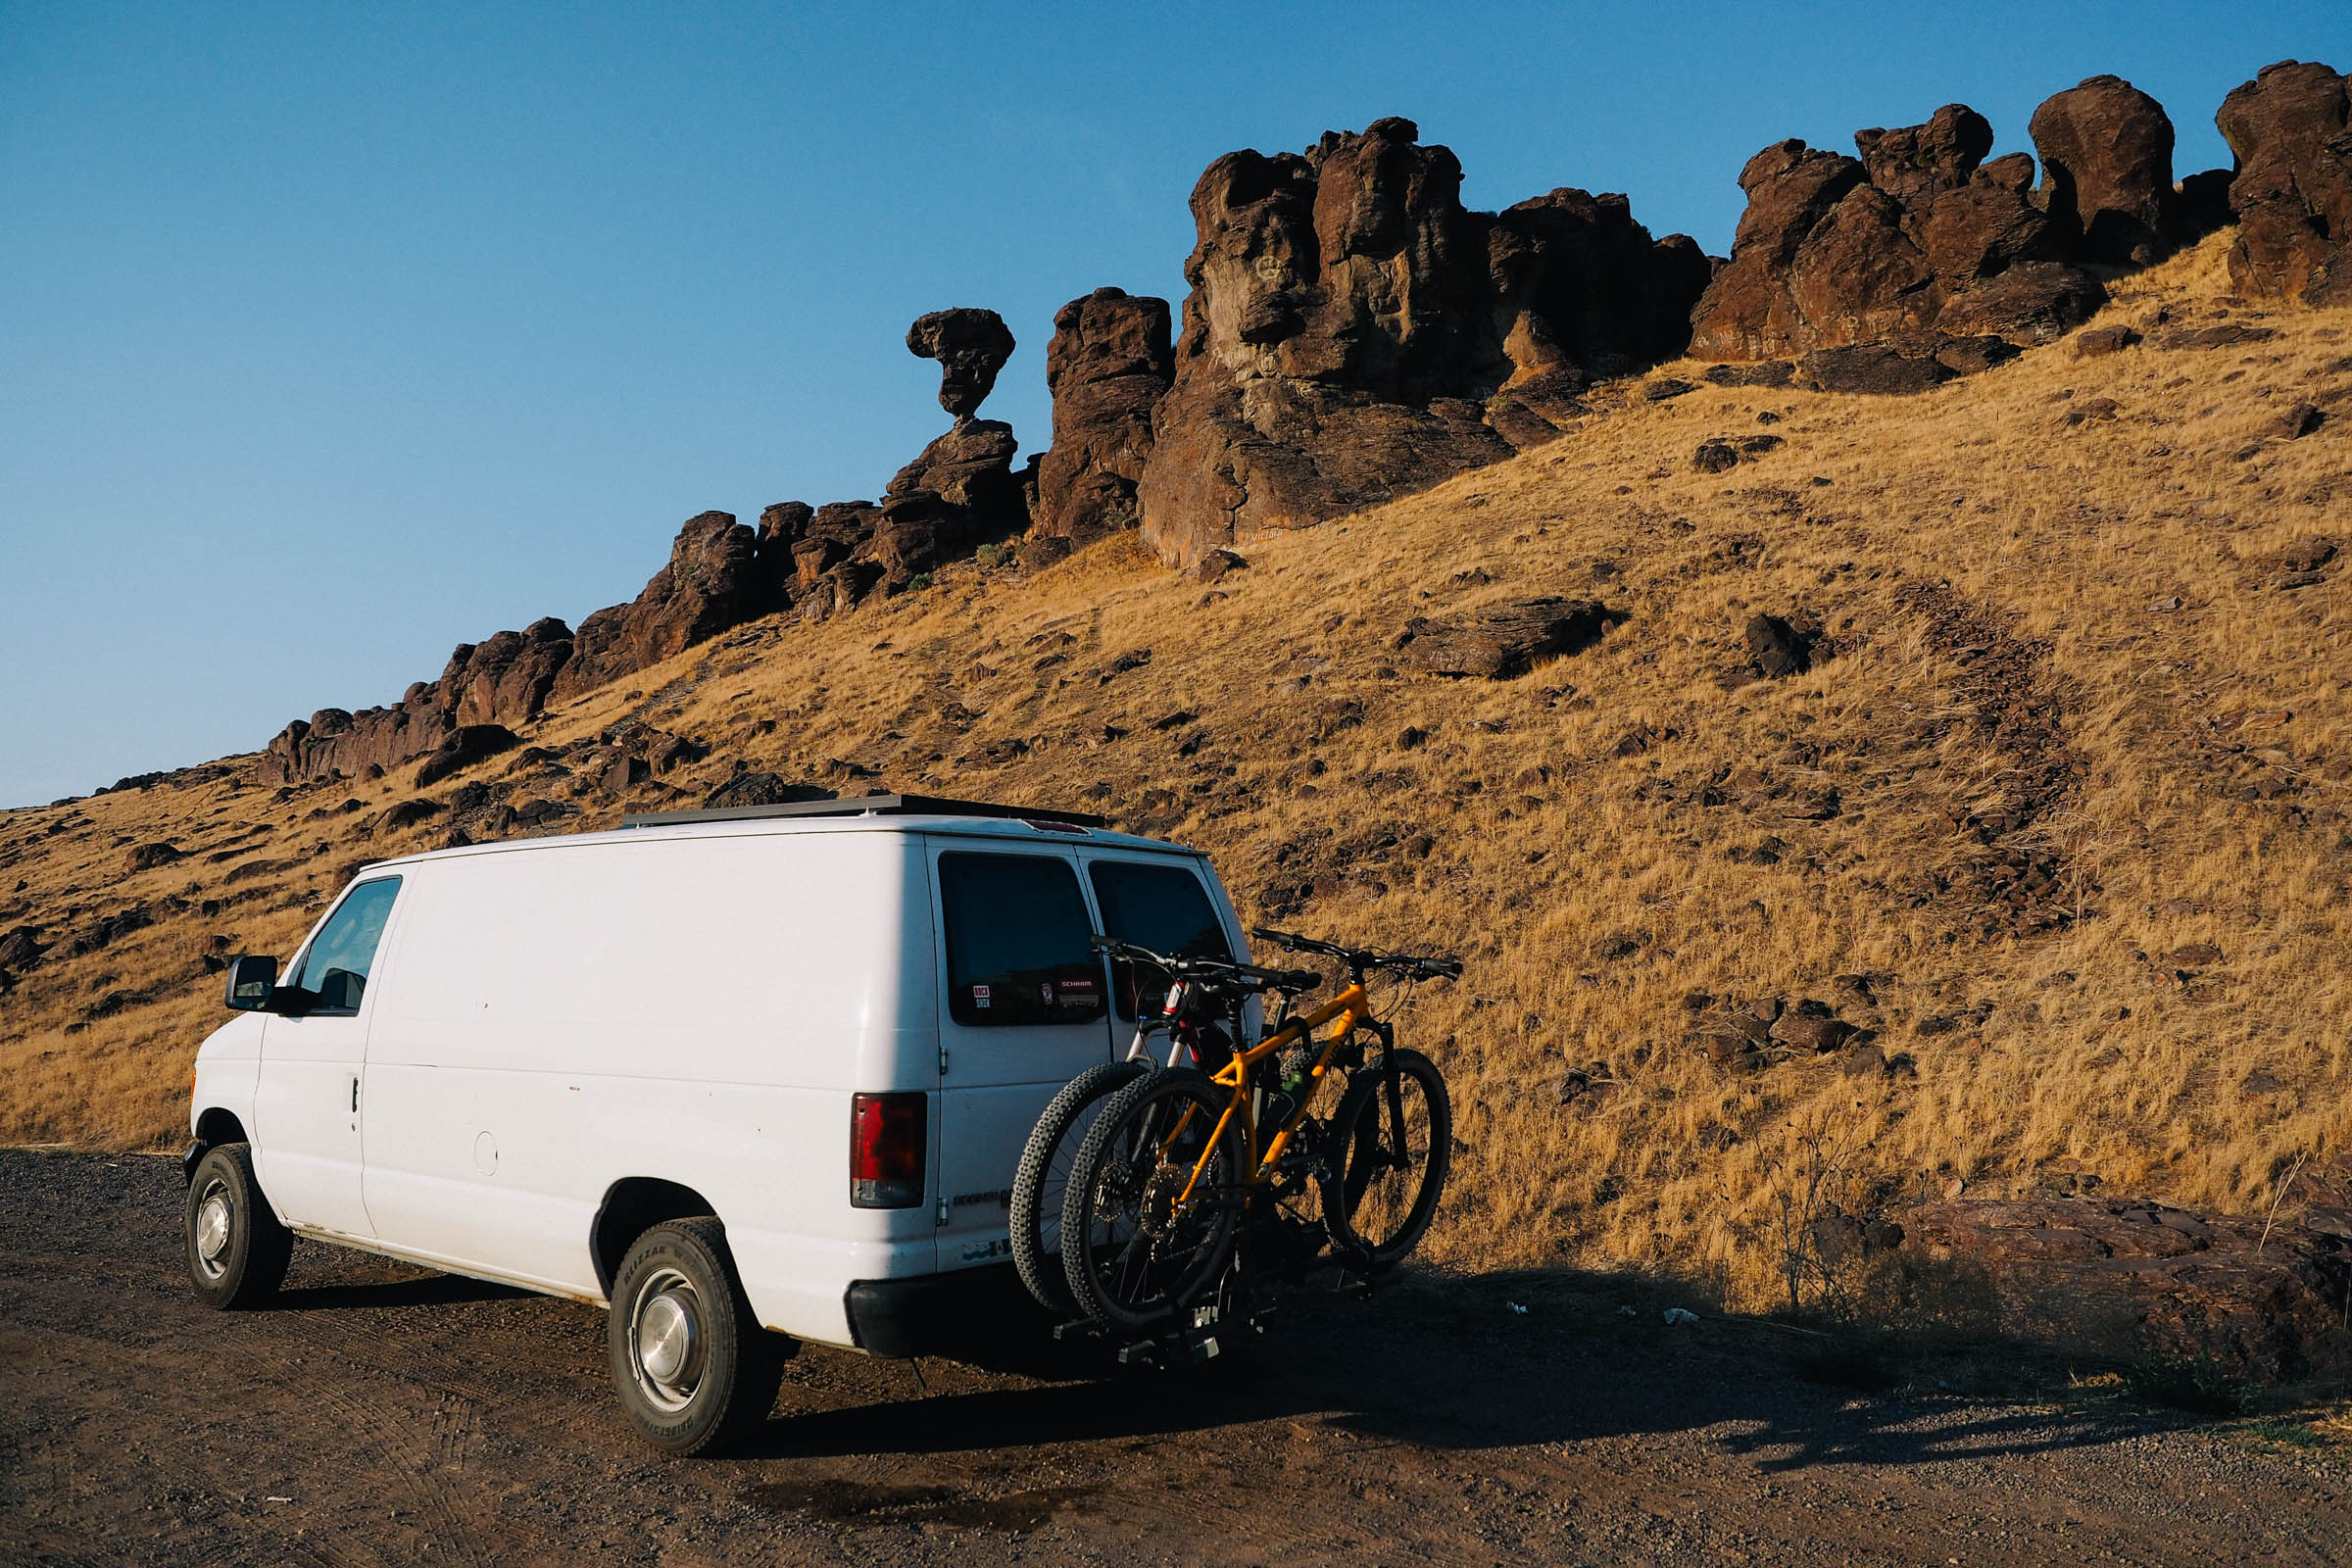
Before setting out in our recently converted Ford Cargo Van we, like most people, were hypnotized by the onslaught of van life guides and carefully curated Instagram accounts. Sure, I bet some people out there are crushing it financially, providing the opportunity for gourmet meals, constant adventures, and a van that runs on good vibes and smiles. However, the majority of people who dream of taking a van-style adventure have both work and other commitments to work around, and although Emily and I have chosen to embrace a semi-nomadic lifestyle we are still very much governed by expenses and dwindling bank accounts. The goal of our trip was a mix of bikepacking-related trips and meetups and just regular old road-trip style fun times. Emily was teaching remotely, requiring only a good internet connection, and my BIKEPACKING.com duties required me to bike often, take photos, and meet a bunch of rad people. A big part of this trip revolved around food, as we knew it would be easy to fall into a habit of eating out, so we prioritized eating loads of fresh vegetables and fruit, and tried limiting the amount of waste we were producing. . That doesn’t mean that we cut out bakery visits all together, but we definitely didn’t eat out for meals more than a couple times per month… not counting cafe visits.
I’ll include a breakdown of our cooking setup, how we managed preparing meals in a standard low-roof cargo van, and a few examples of our go-to meals. Just a heads up, some might consider these meals boring or lackluster, but for our little van situation, we were quite happy with how our meals turned out.
Our Simple Adventure Van’s Cooking Setup
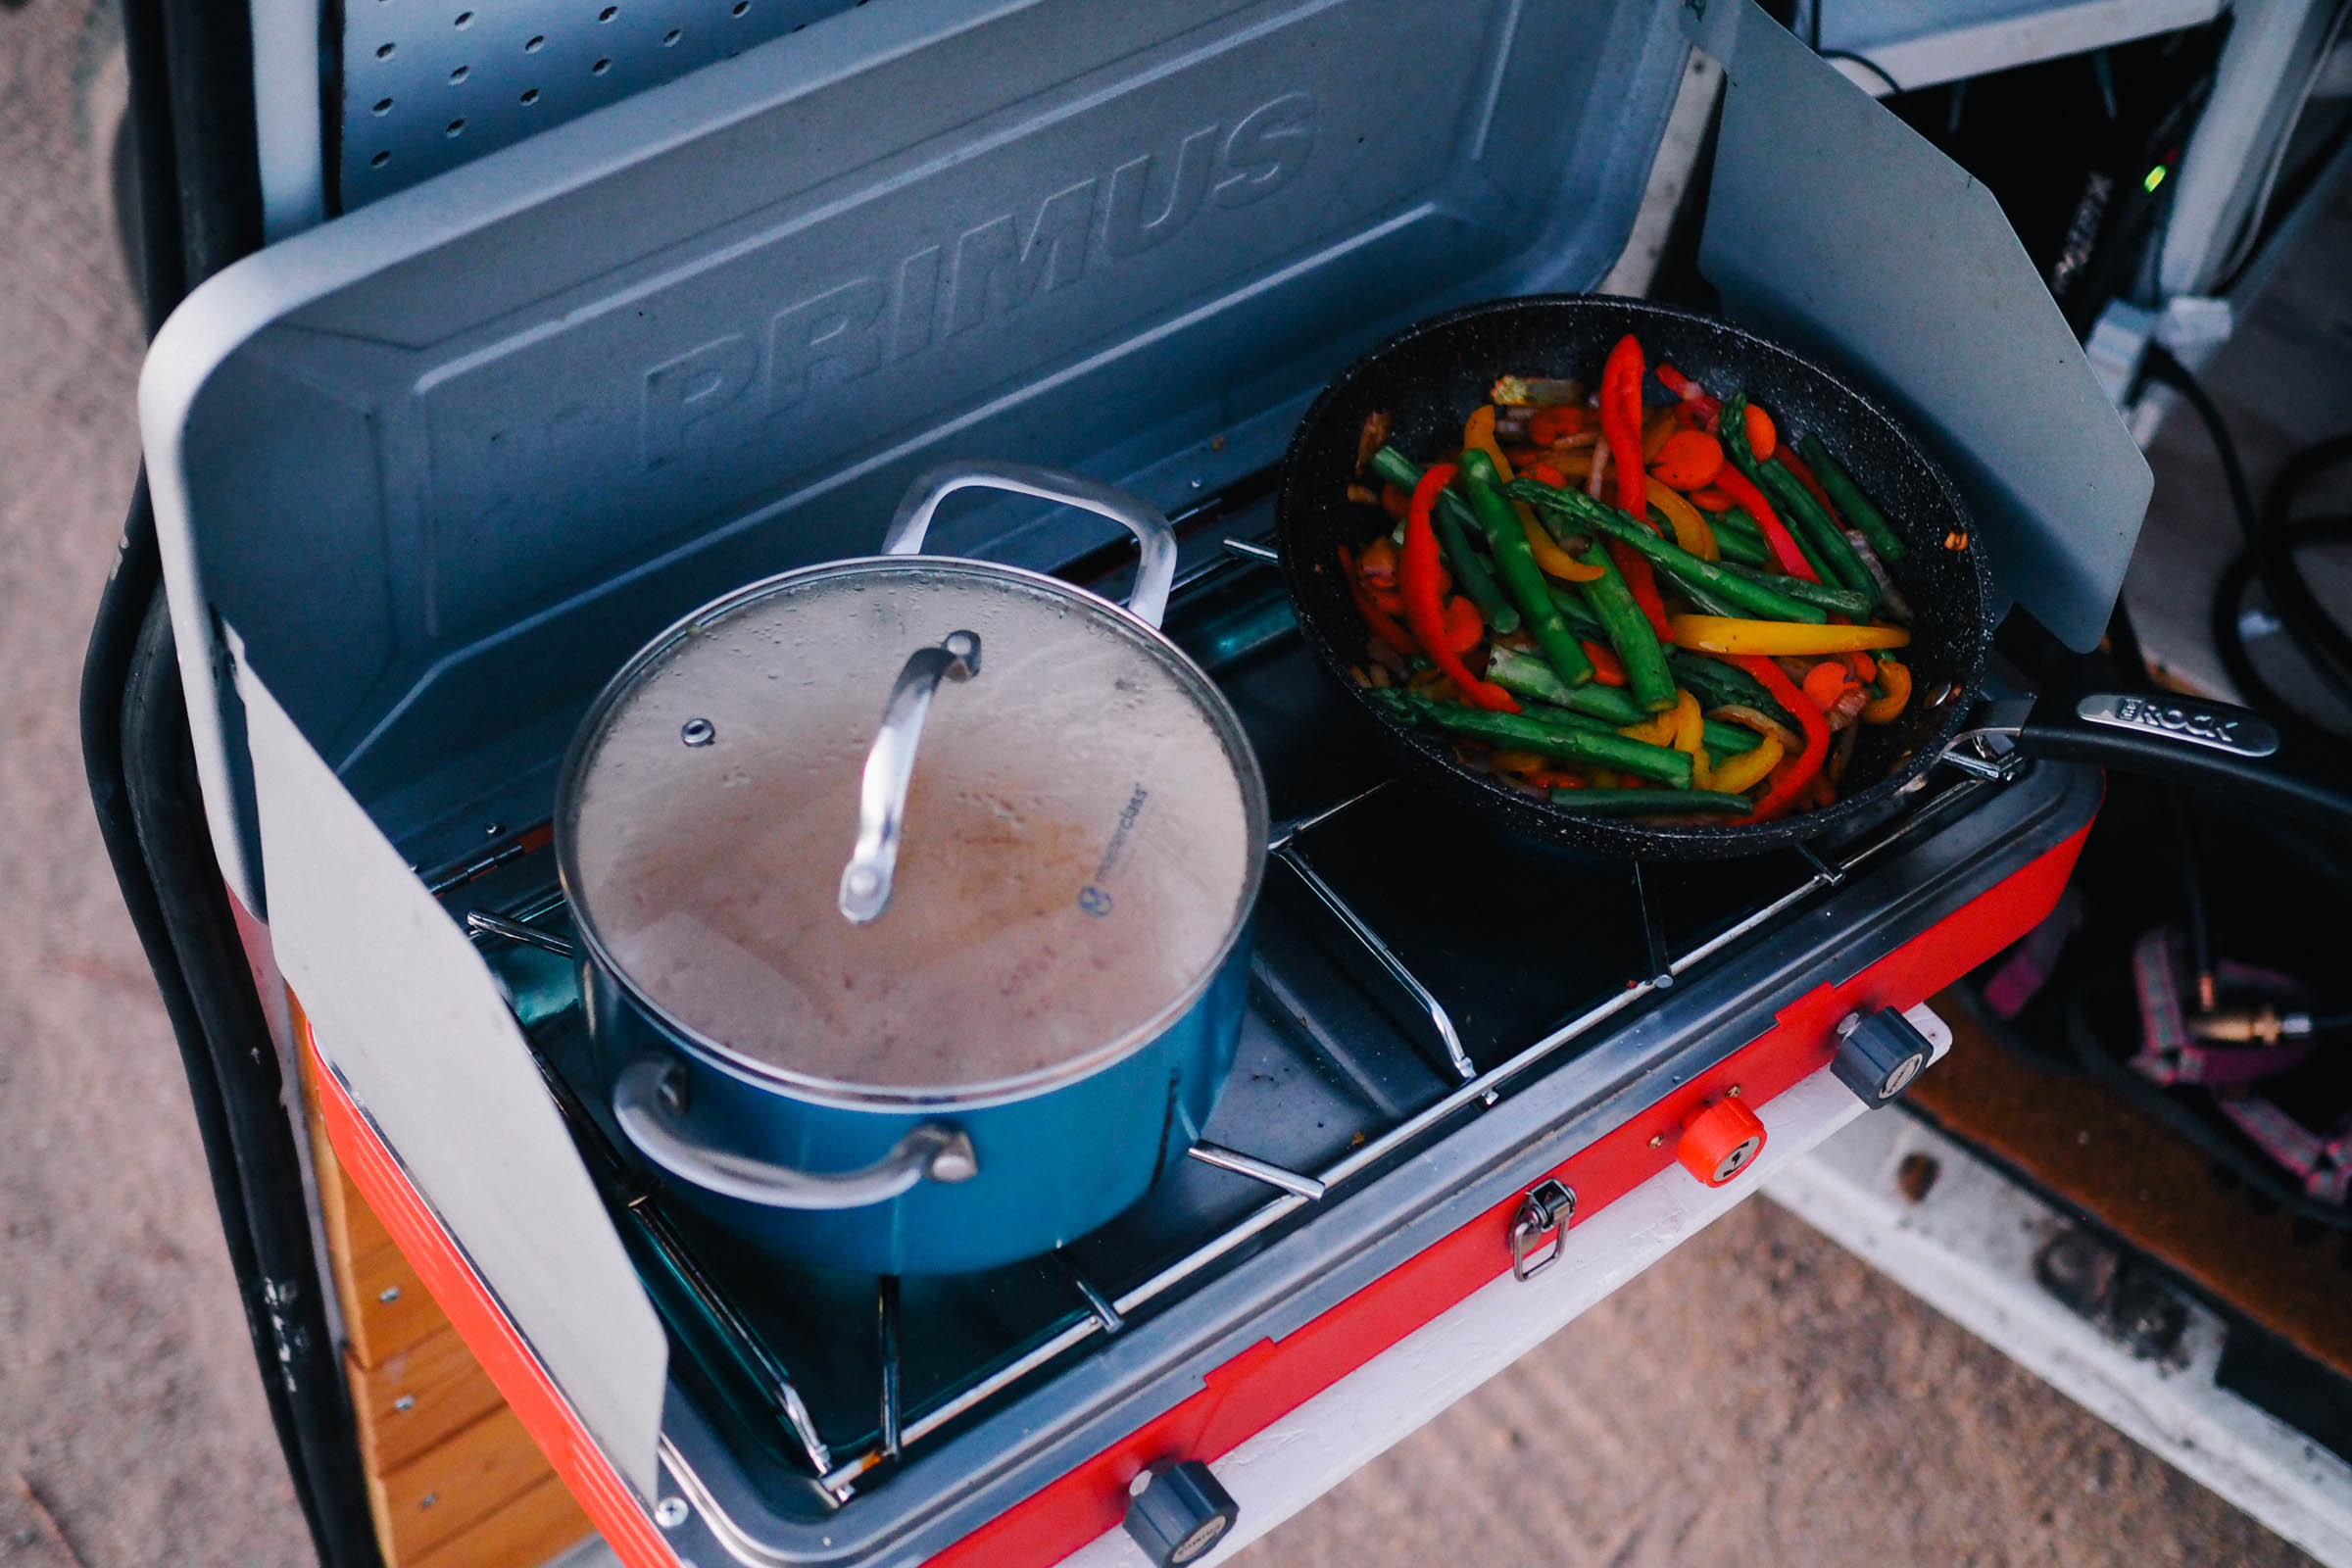
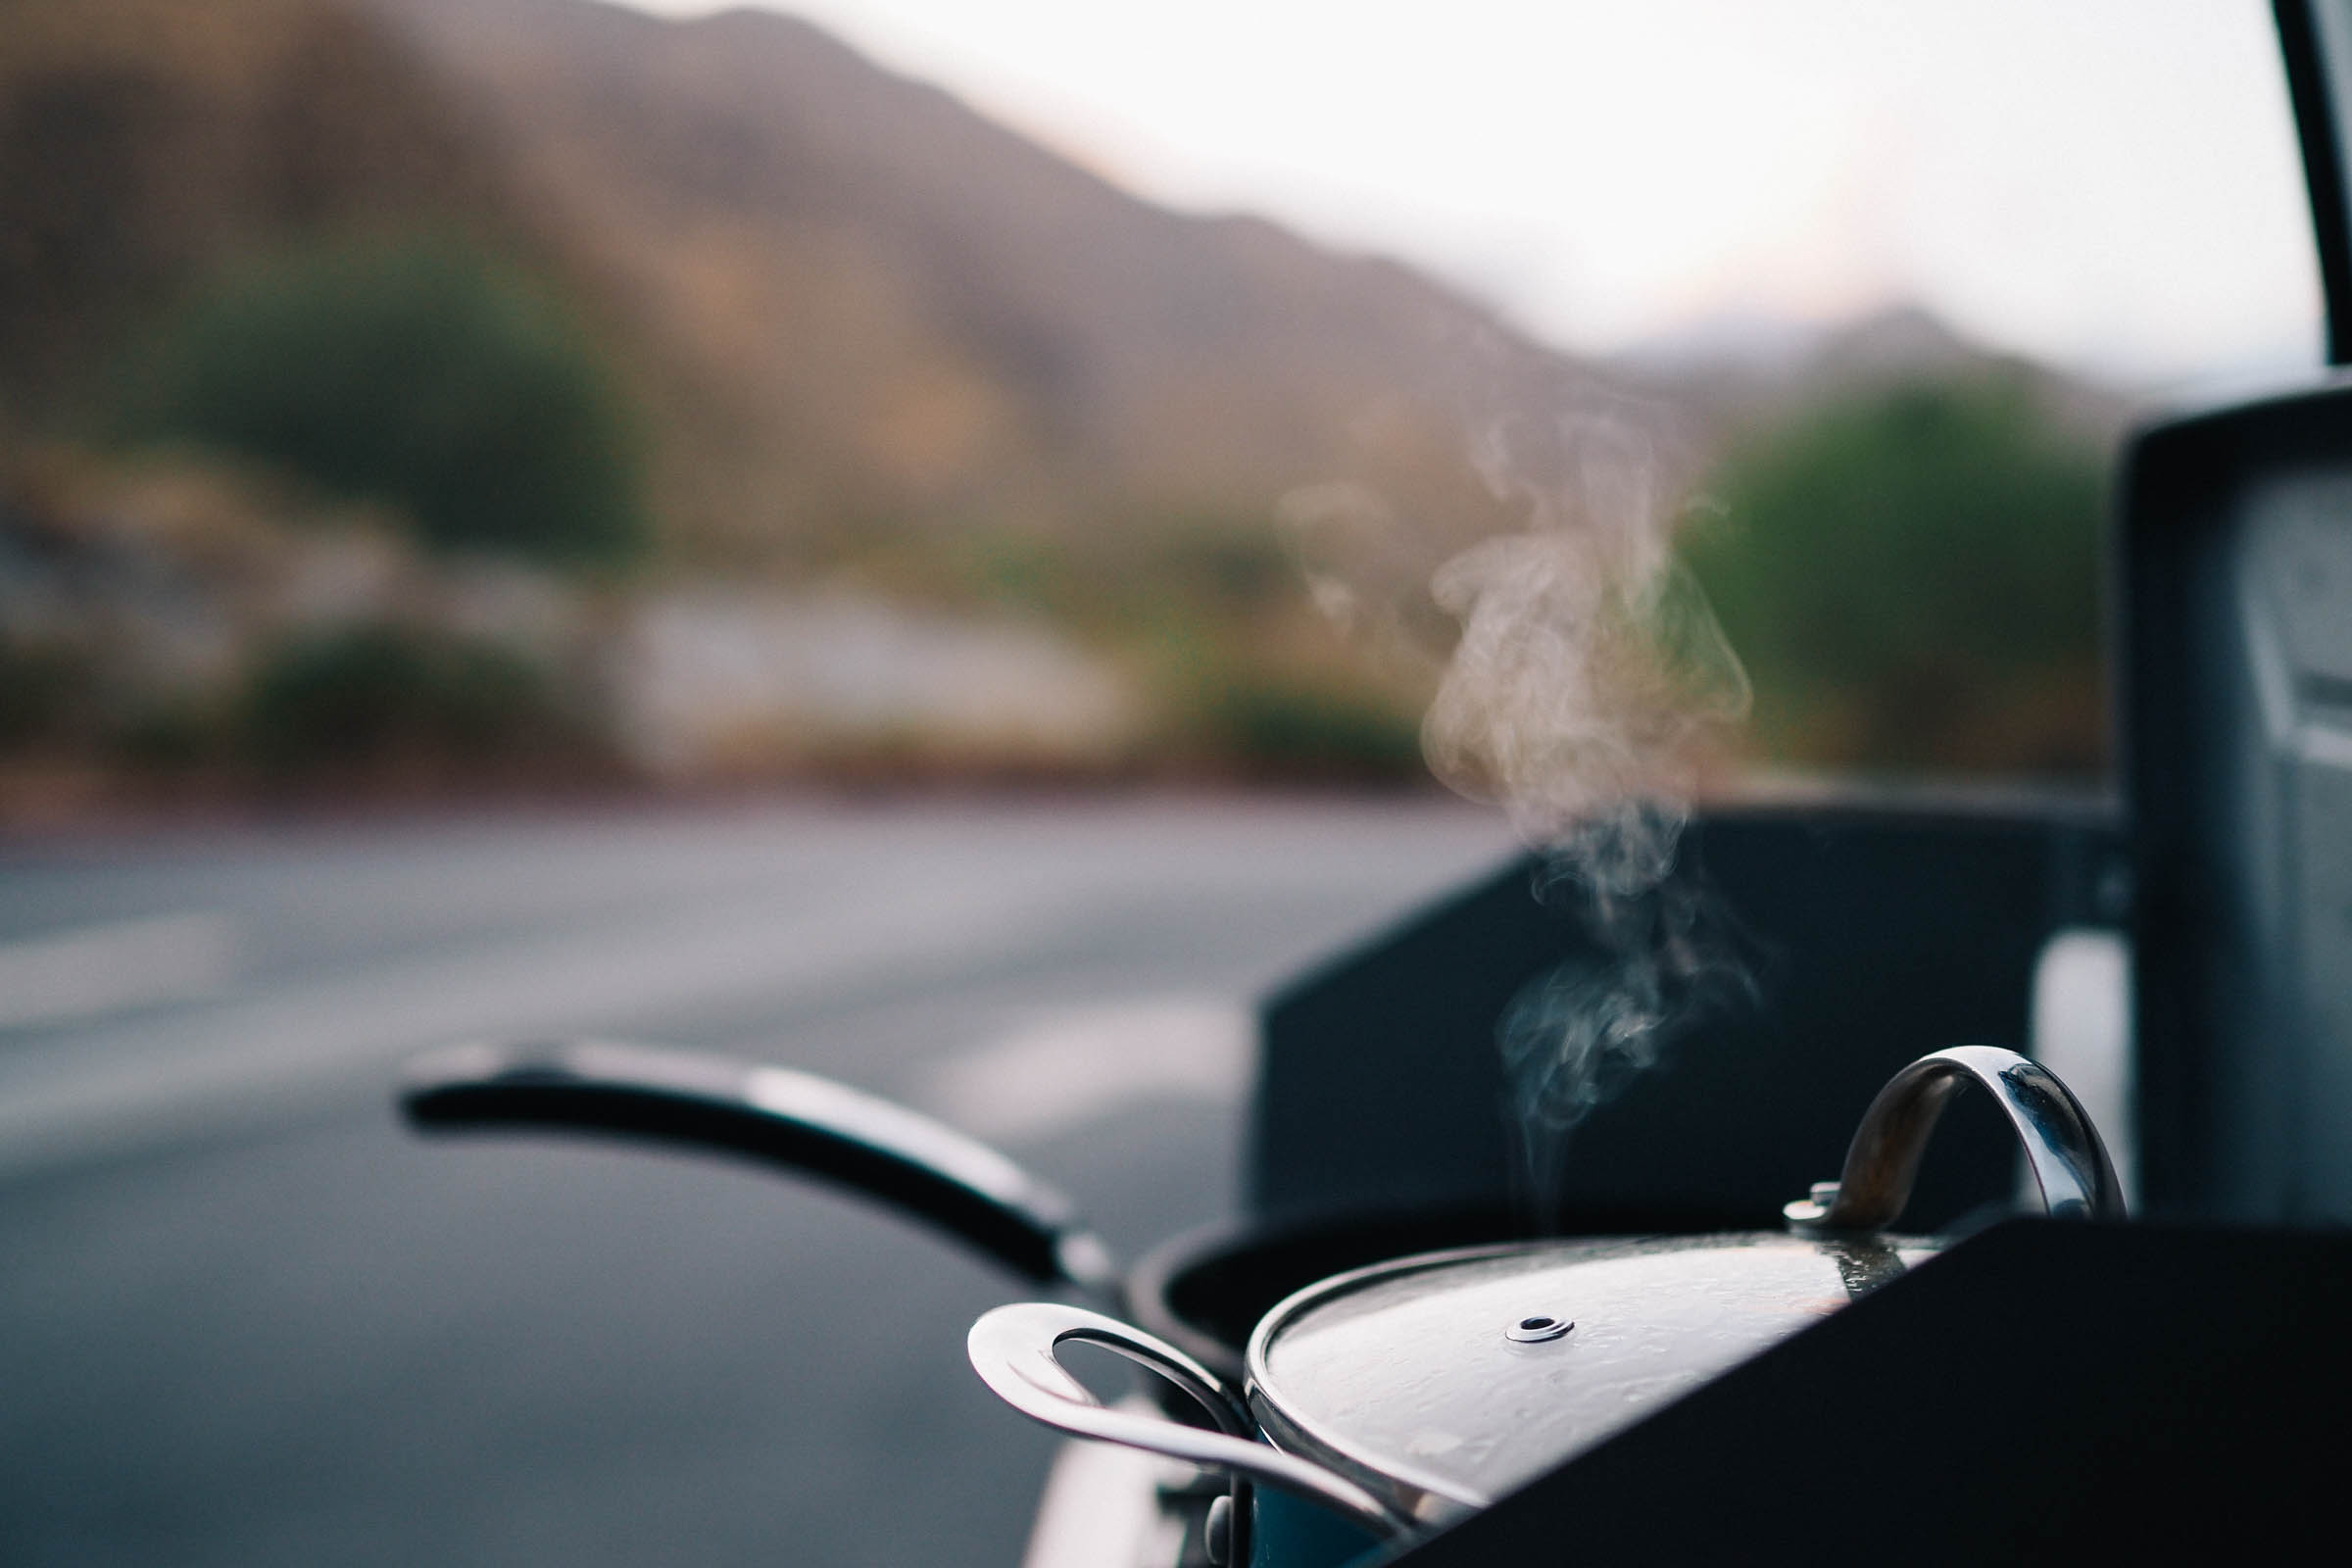
At the helm of our ‘kitchen’ was a Primus Profile two-burner camp stove. There are a bunch of comparable options out there from brands like Eureka and Coleman, and more spendy versions that have integrated ovens for baking, but for the price, the Profile was an easy decision. Add in a simple adapter hose, found at most stores with a camping department, and you can now forget using the smaller propane canisters and rock a regular BBQ-style propane tank. We opted for an 11-lb tank, which is much shorter than the standard 20-lb tanks, allowing us to store it under our counter, leaving room for our stove, drinking water, and a few other little bits and pieces. We had one large pot, a frying pan, and a few cooking utensils. Oh, and Emily was adamant we bring along a kettle for her morning tea, so I splurged on a Primus Litech aluminum kettle.
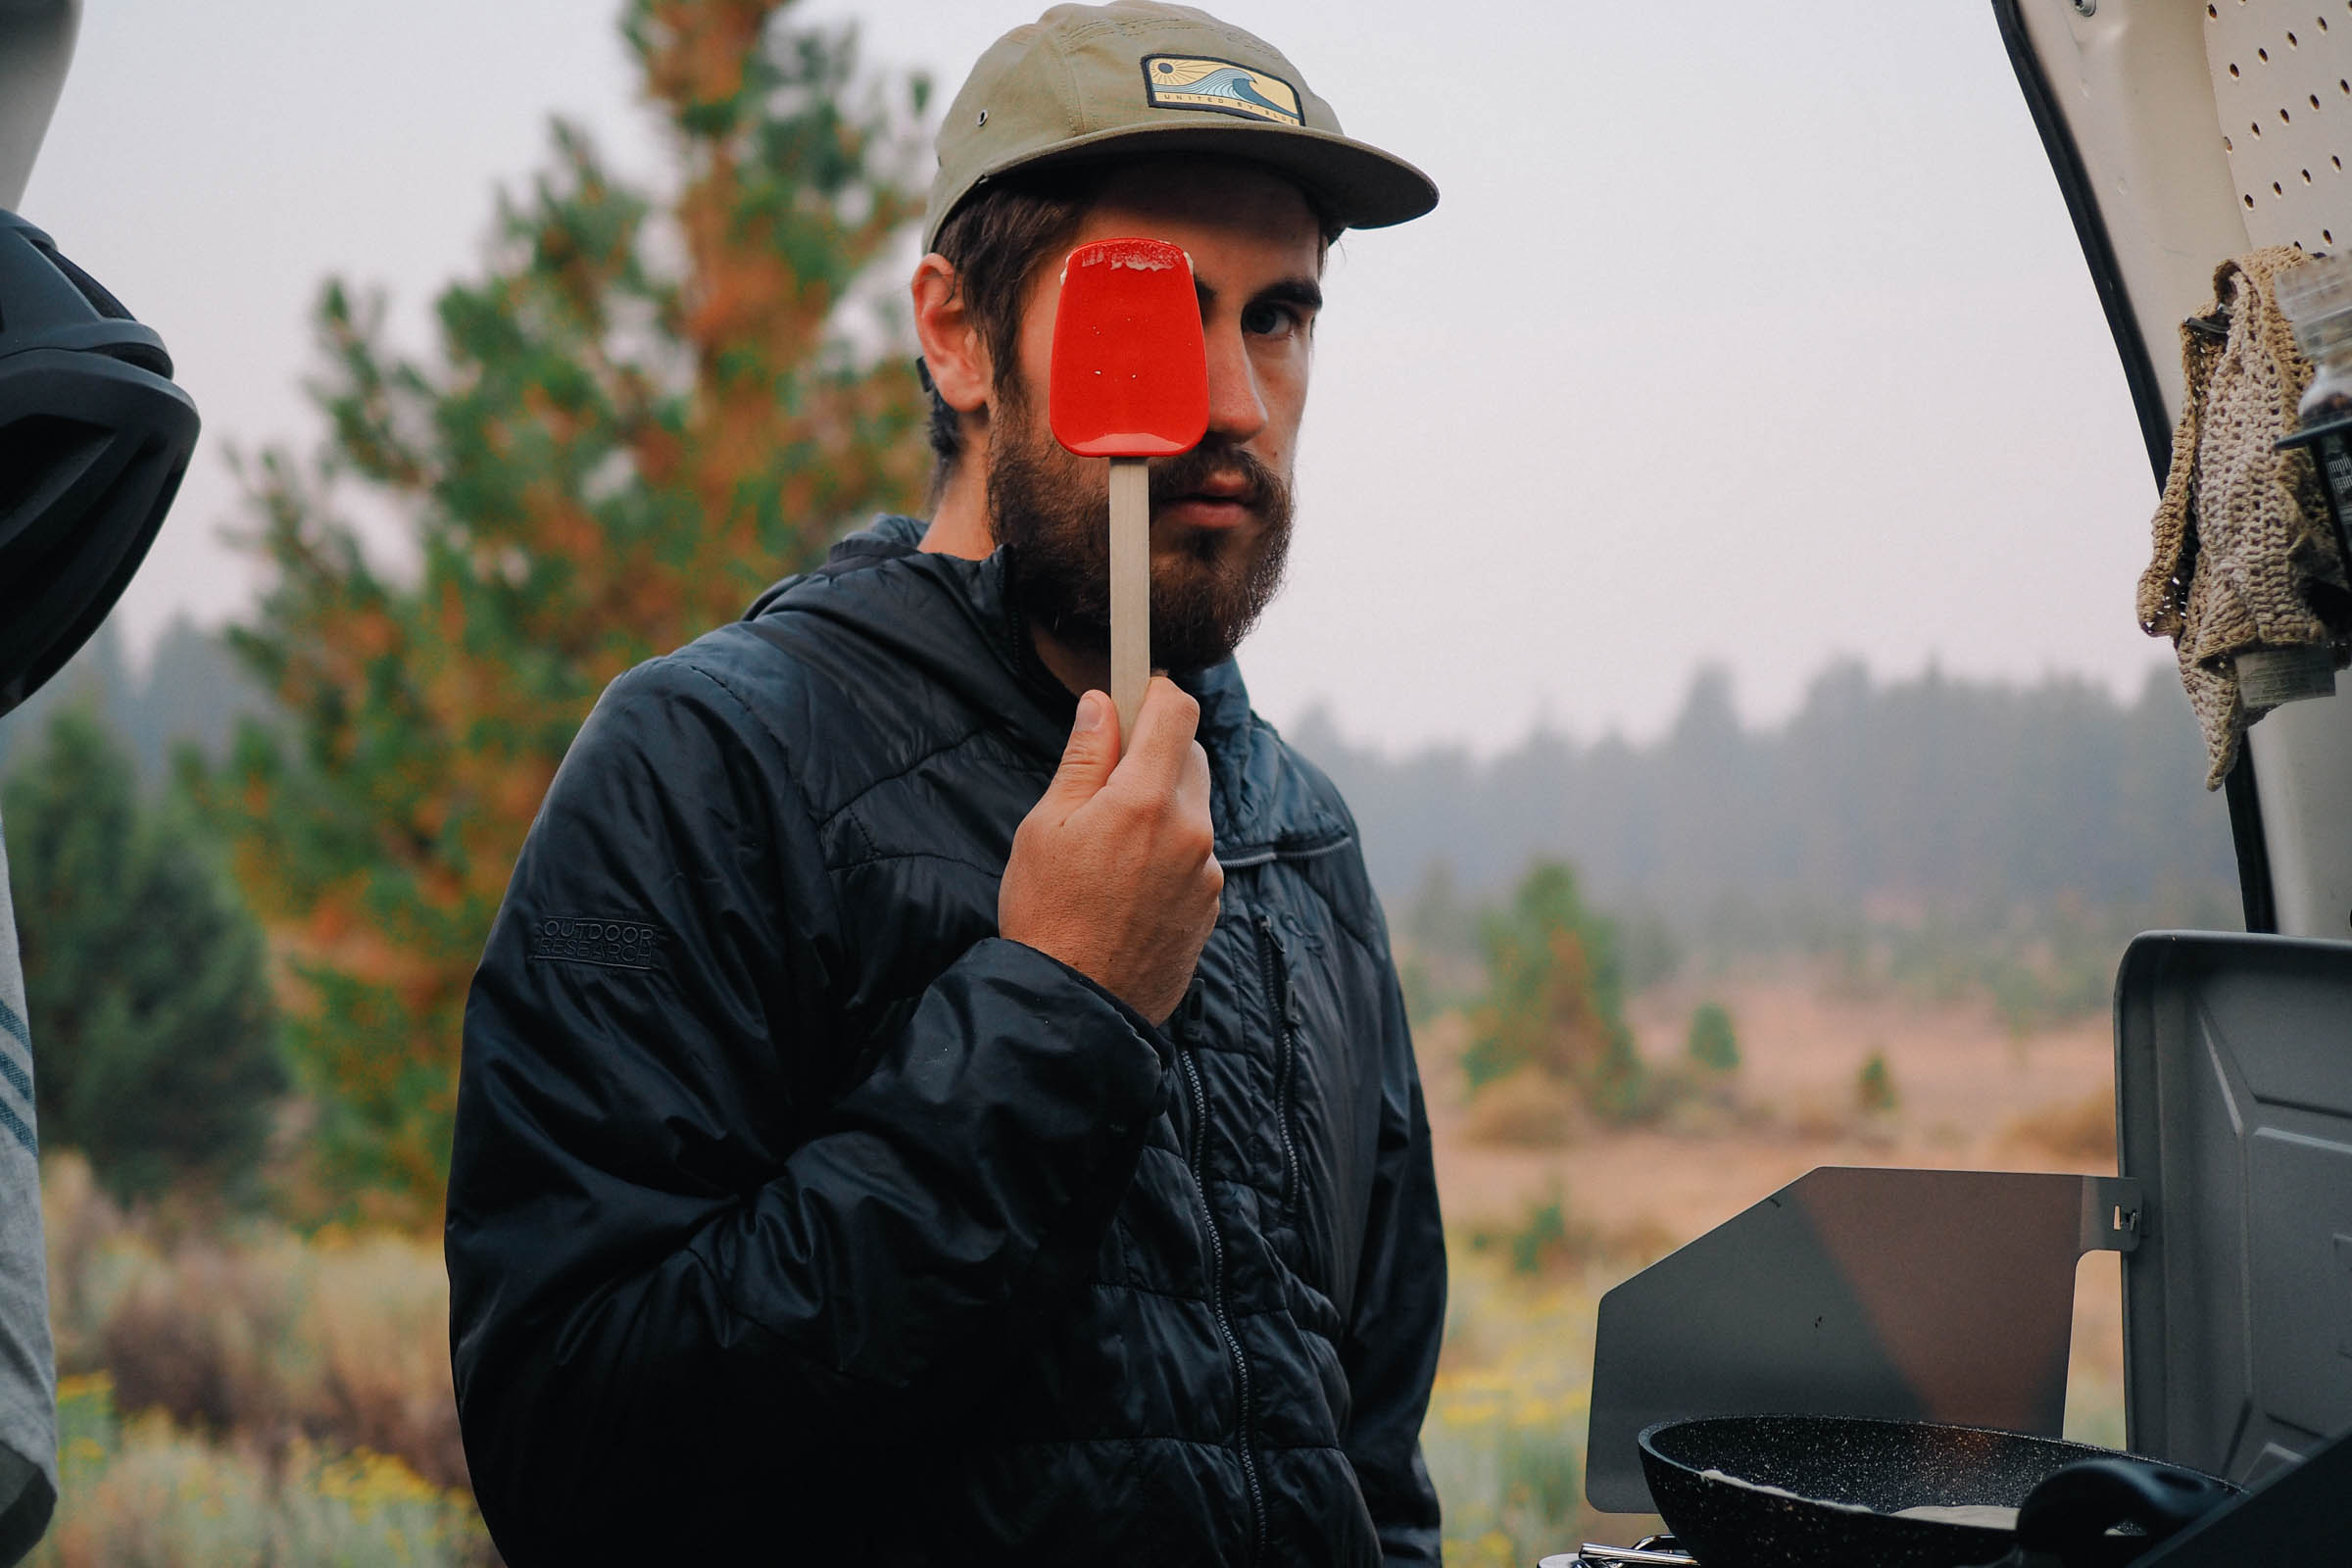
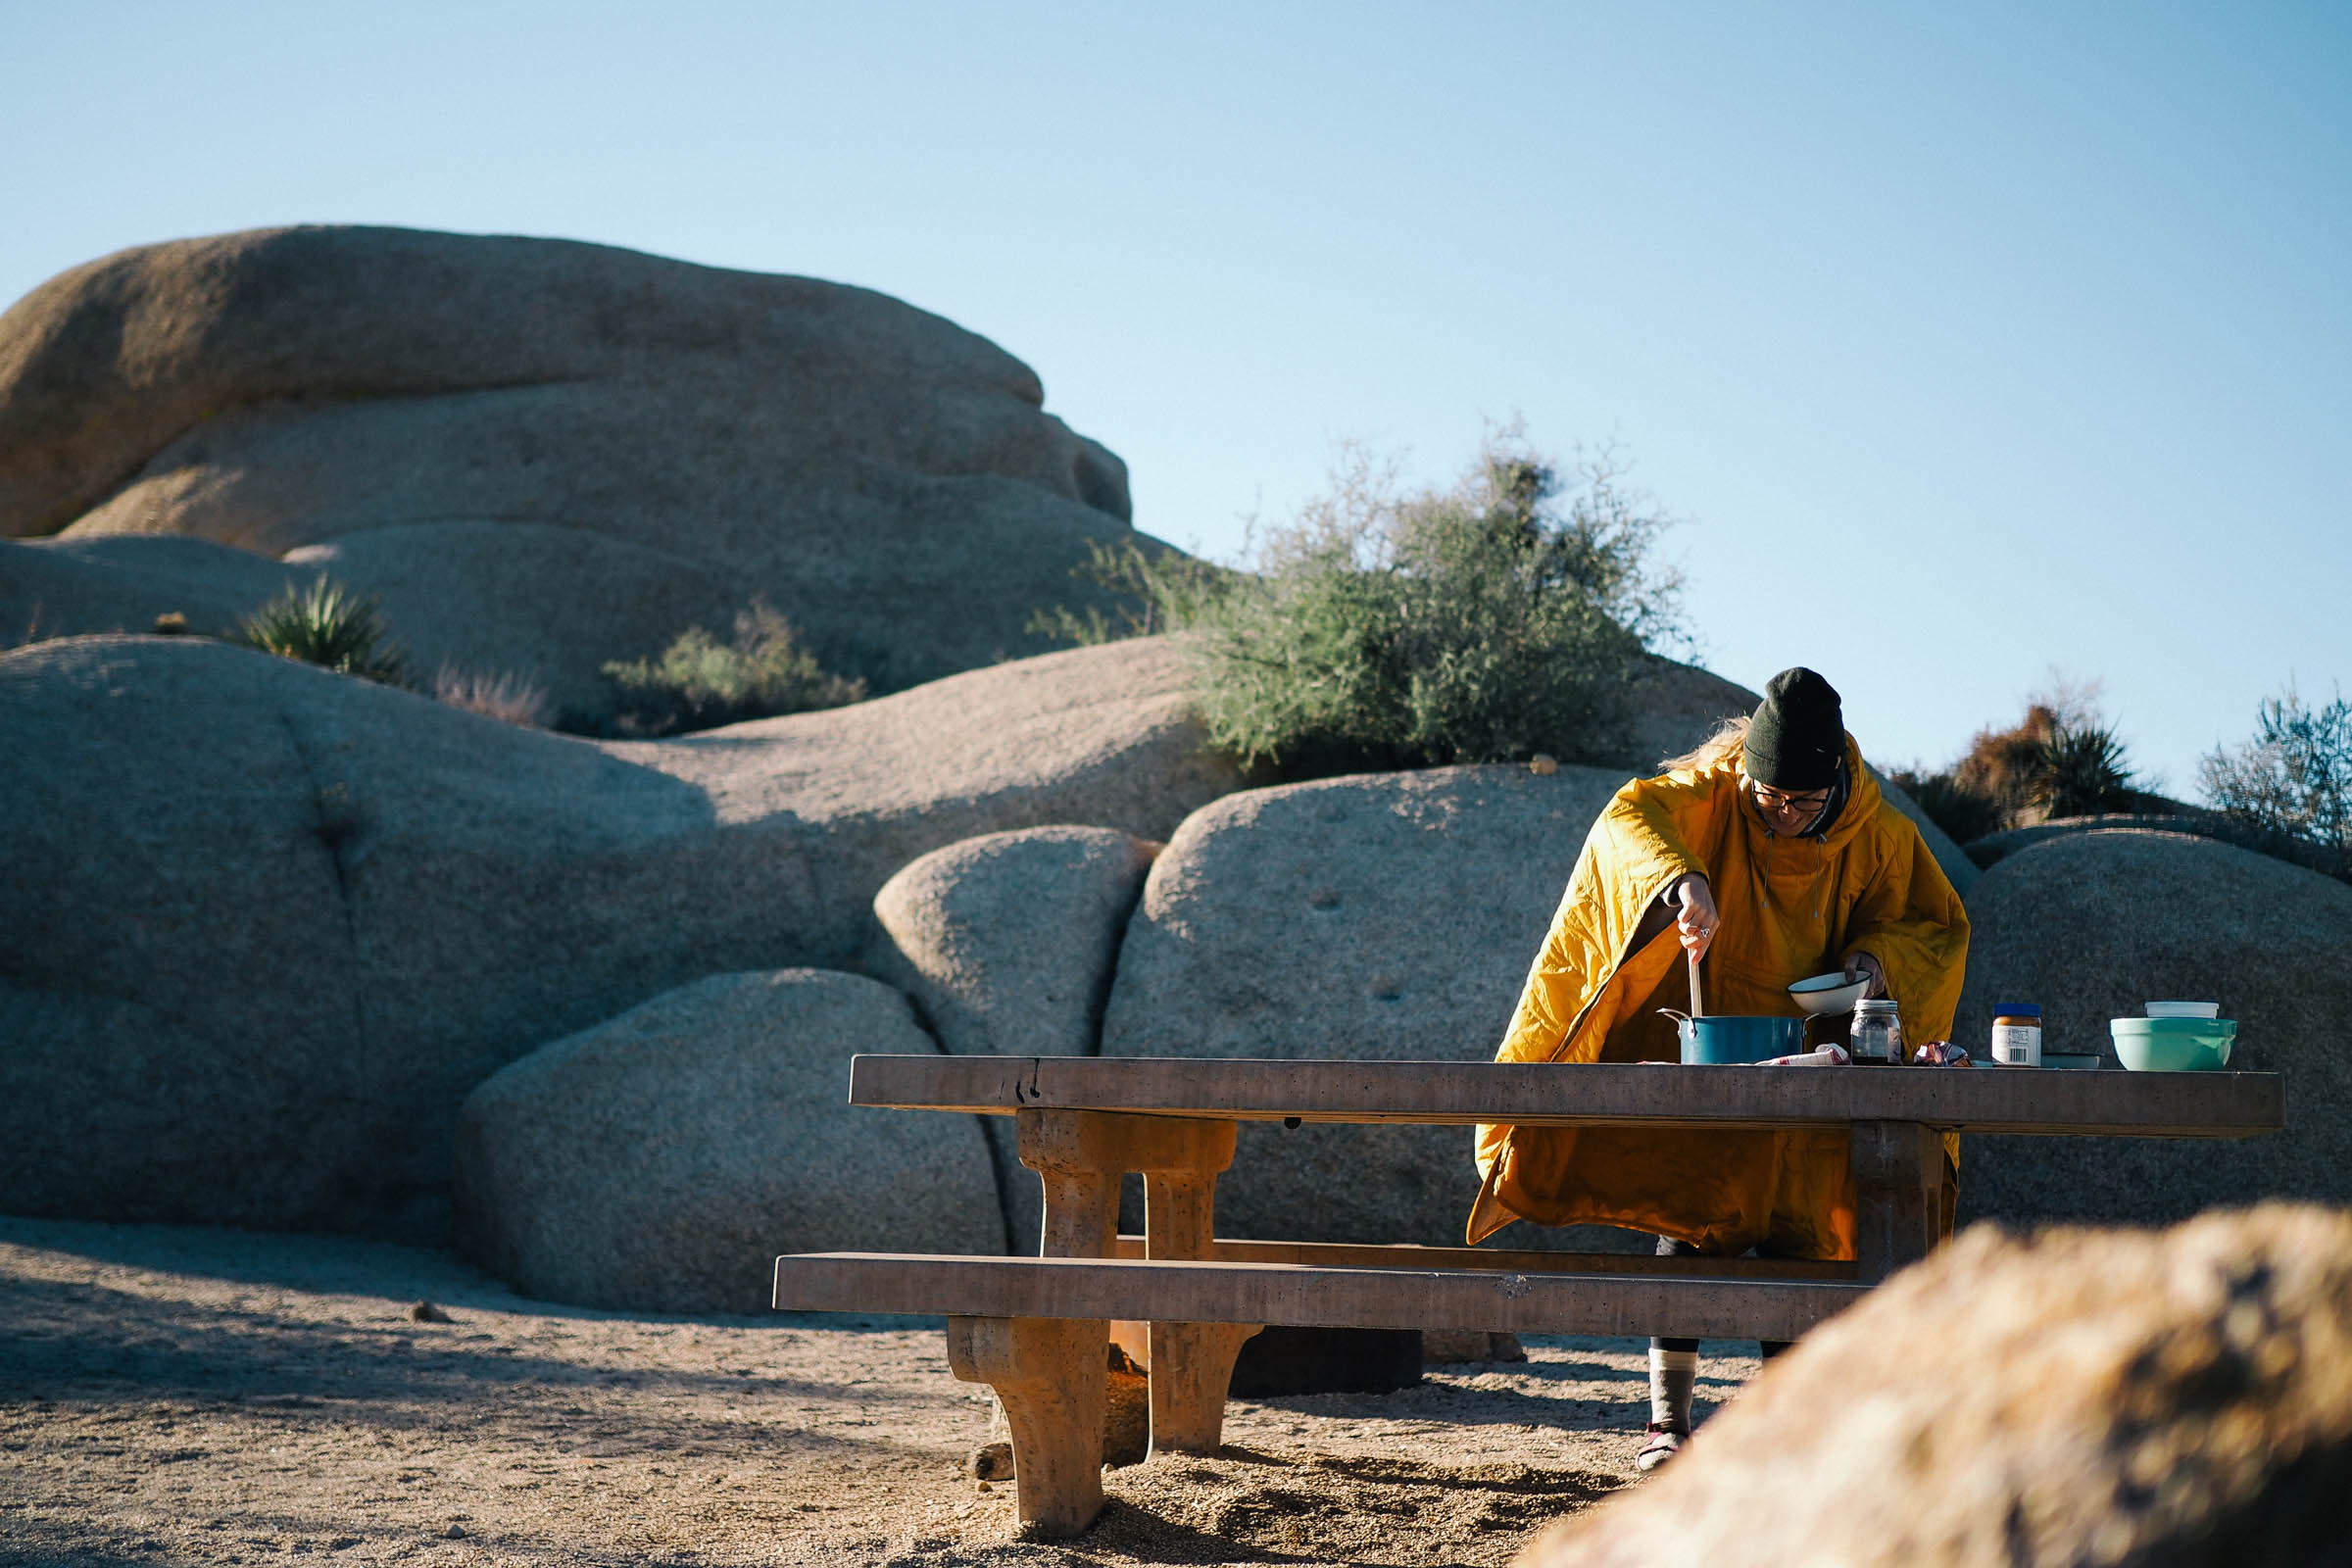
I designed the van to accommodate this setup, which meant having most of the actual cooking happening outside. A fold out table on the side door easily supported the stove, and the adapter hose was long enough to reach the propane tank behind the driver seat no problem. Emily, being much smaller than me, would usually take the prep position within the van- an important job that took care of most of the chopping and ingredient retrieving. I would deal with the stove side of things, cooking, and if water was required for the meal, I’d handle the large water jug as well. I also seemed to naturally wash most of the dishes as well, which was accomplished by pouring a bit of water in a small plastic tub. We met a gentleman early on in our trip, near Cumberland, BC if I remember correctly, who insisted he could wash dishes with less than a tablespoon of water, and that abrasion was more important than water or soap. That’s some science for ya!
“We didn’t use measuring cups, we didn’t miss having multiple frying pans and pots of varying sizes, and although washing dishes on the ground was sometimes frustrating, it was perfect for our first go at this whole van life thing.”
The Stuff We Ate
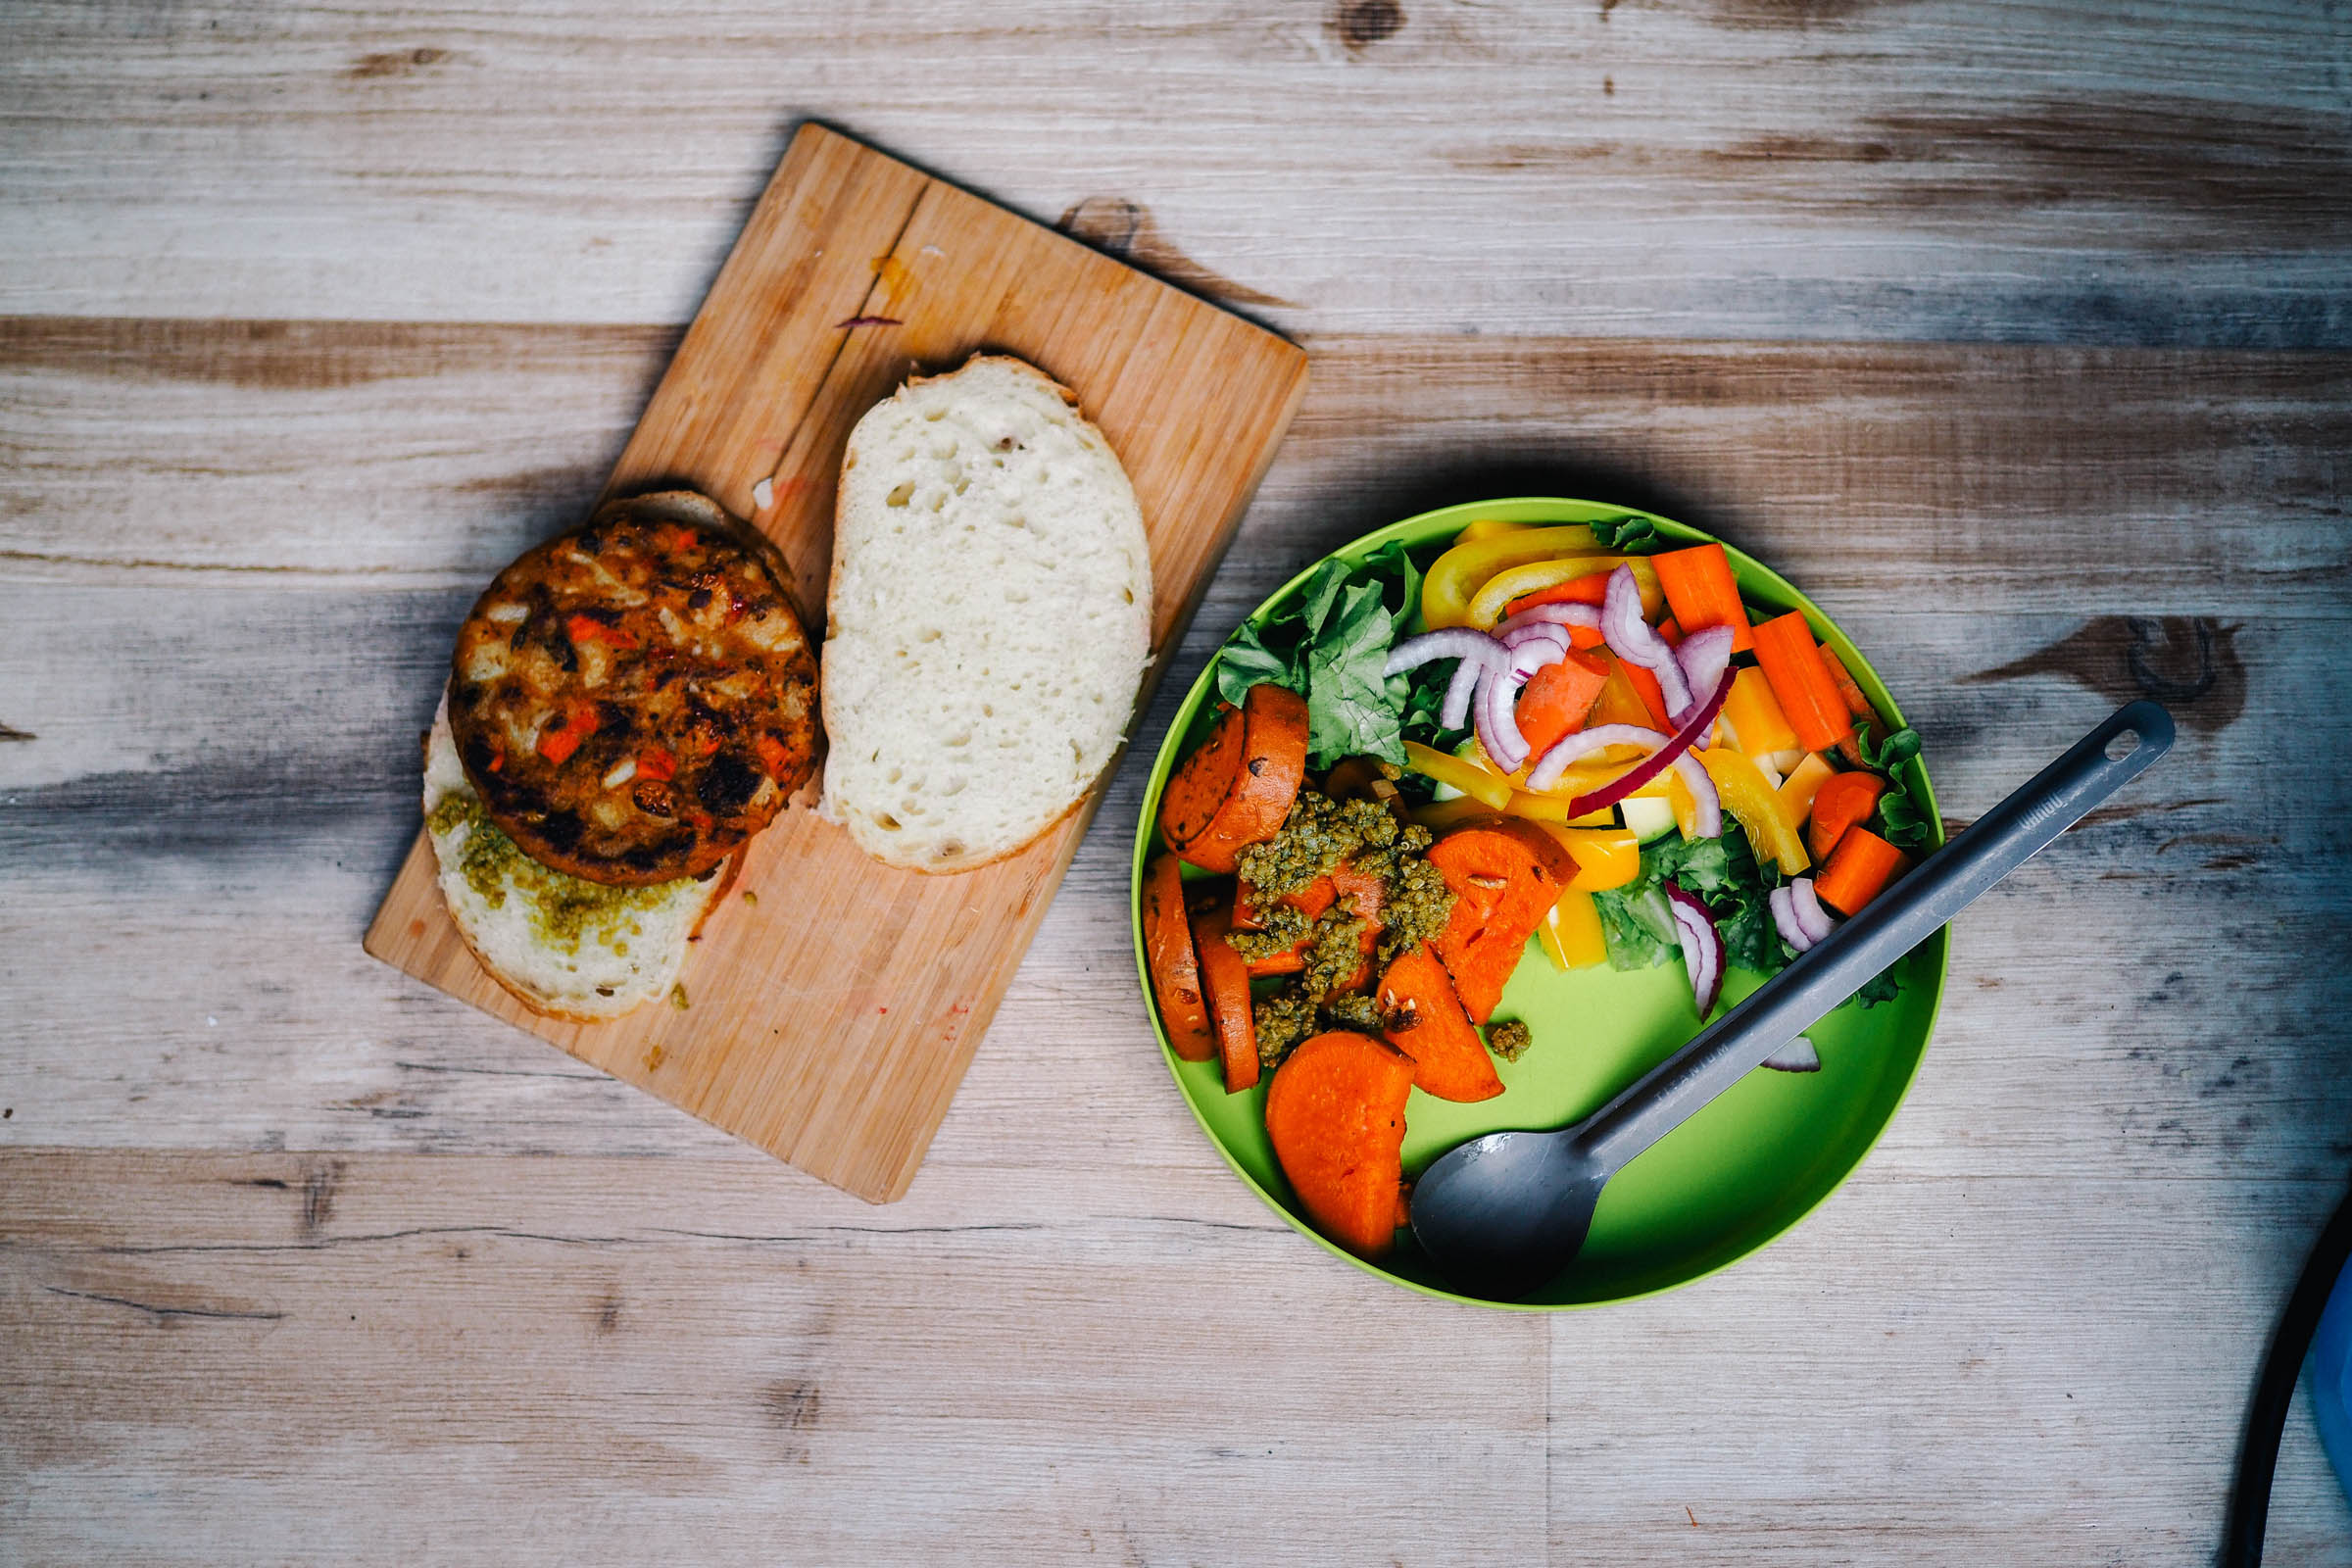
We kept things pretty simple on this trip. Breakfasts were most often based around oatmeal, lunch was usually a very last minute concoction that sometimes just ended up being a platter of some kind, and dinners were stir fry oriented with rotating ingredients. We splurged on a Dometic CFX 35W fridge, which offered enough room for 4-6 days of vegetables and condiments. We only bought this because I needed a way to keep some personal medication cold, otherwise, a good quality cooler would maybe do the trick. A few plastic, airtight bins for dry storage, and we were good to go. Here are a few examples of what we ate, requiring only a two-burner stove, a frying pan, and a pot.
Breakfast: Mega Oatmeal Super Bowl
Notes
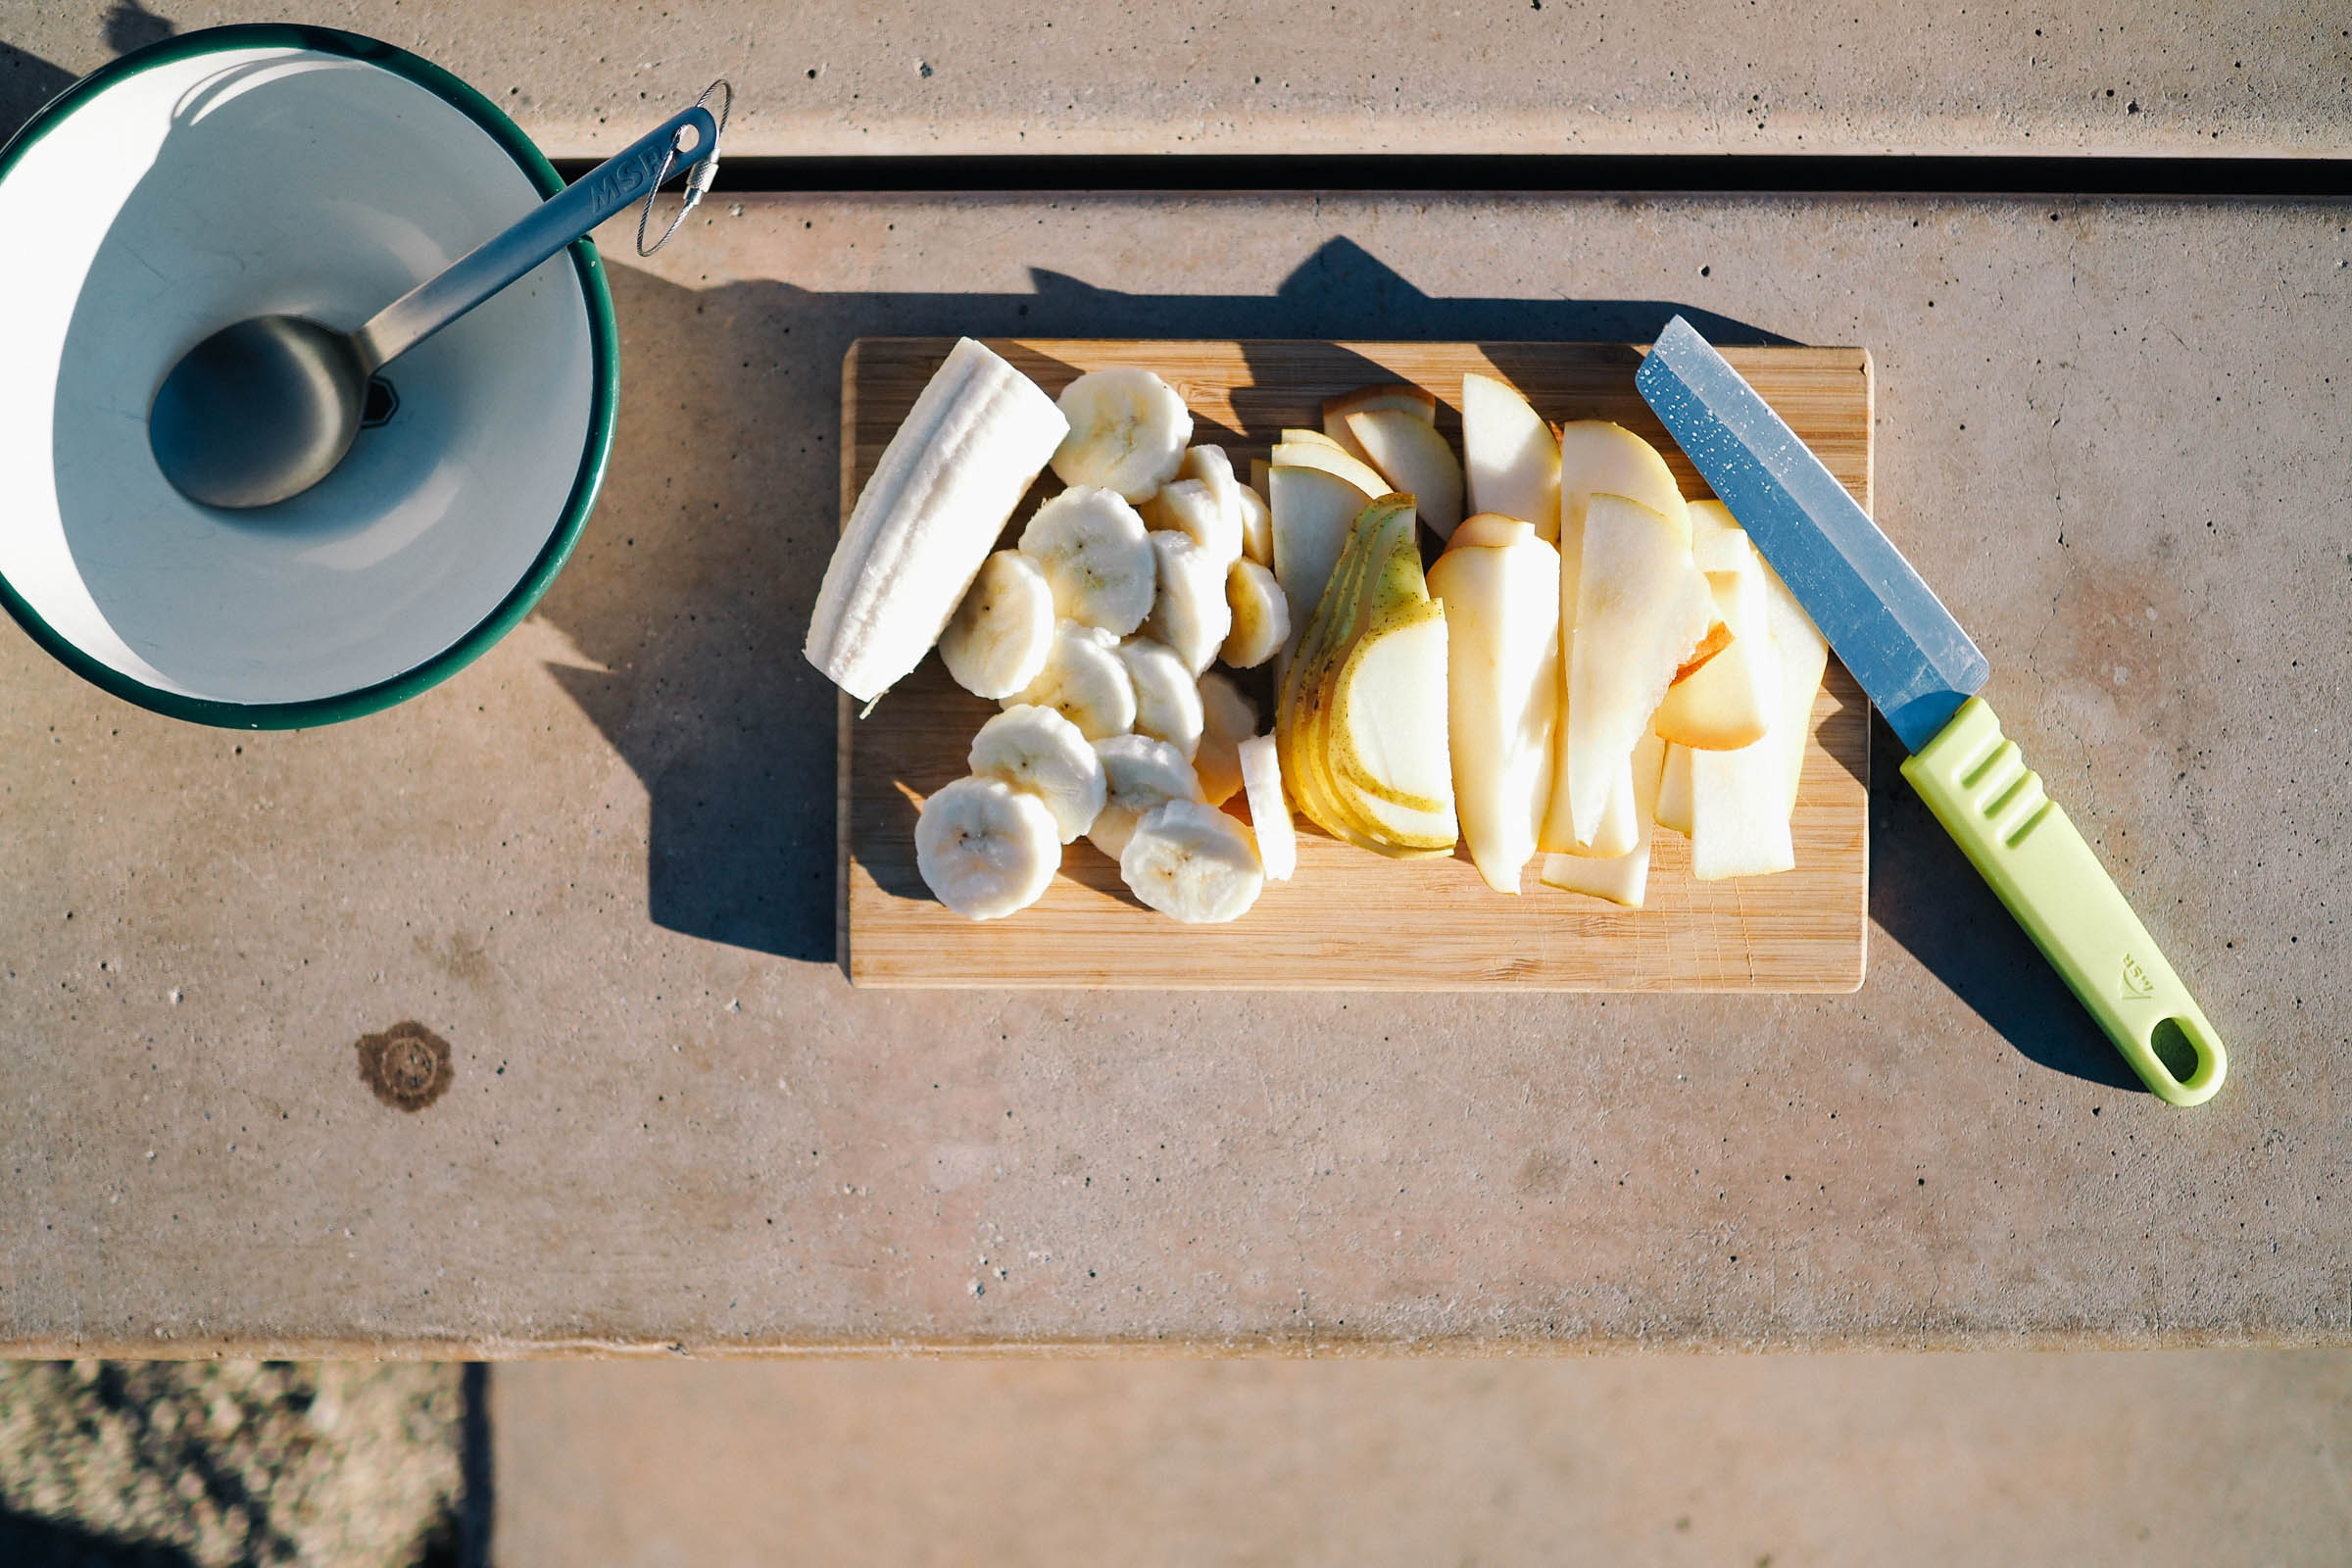
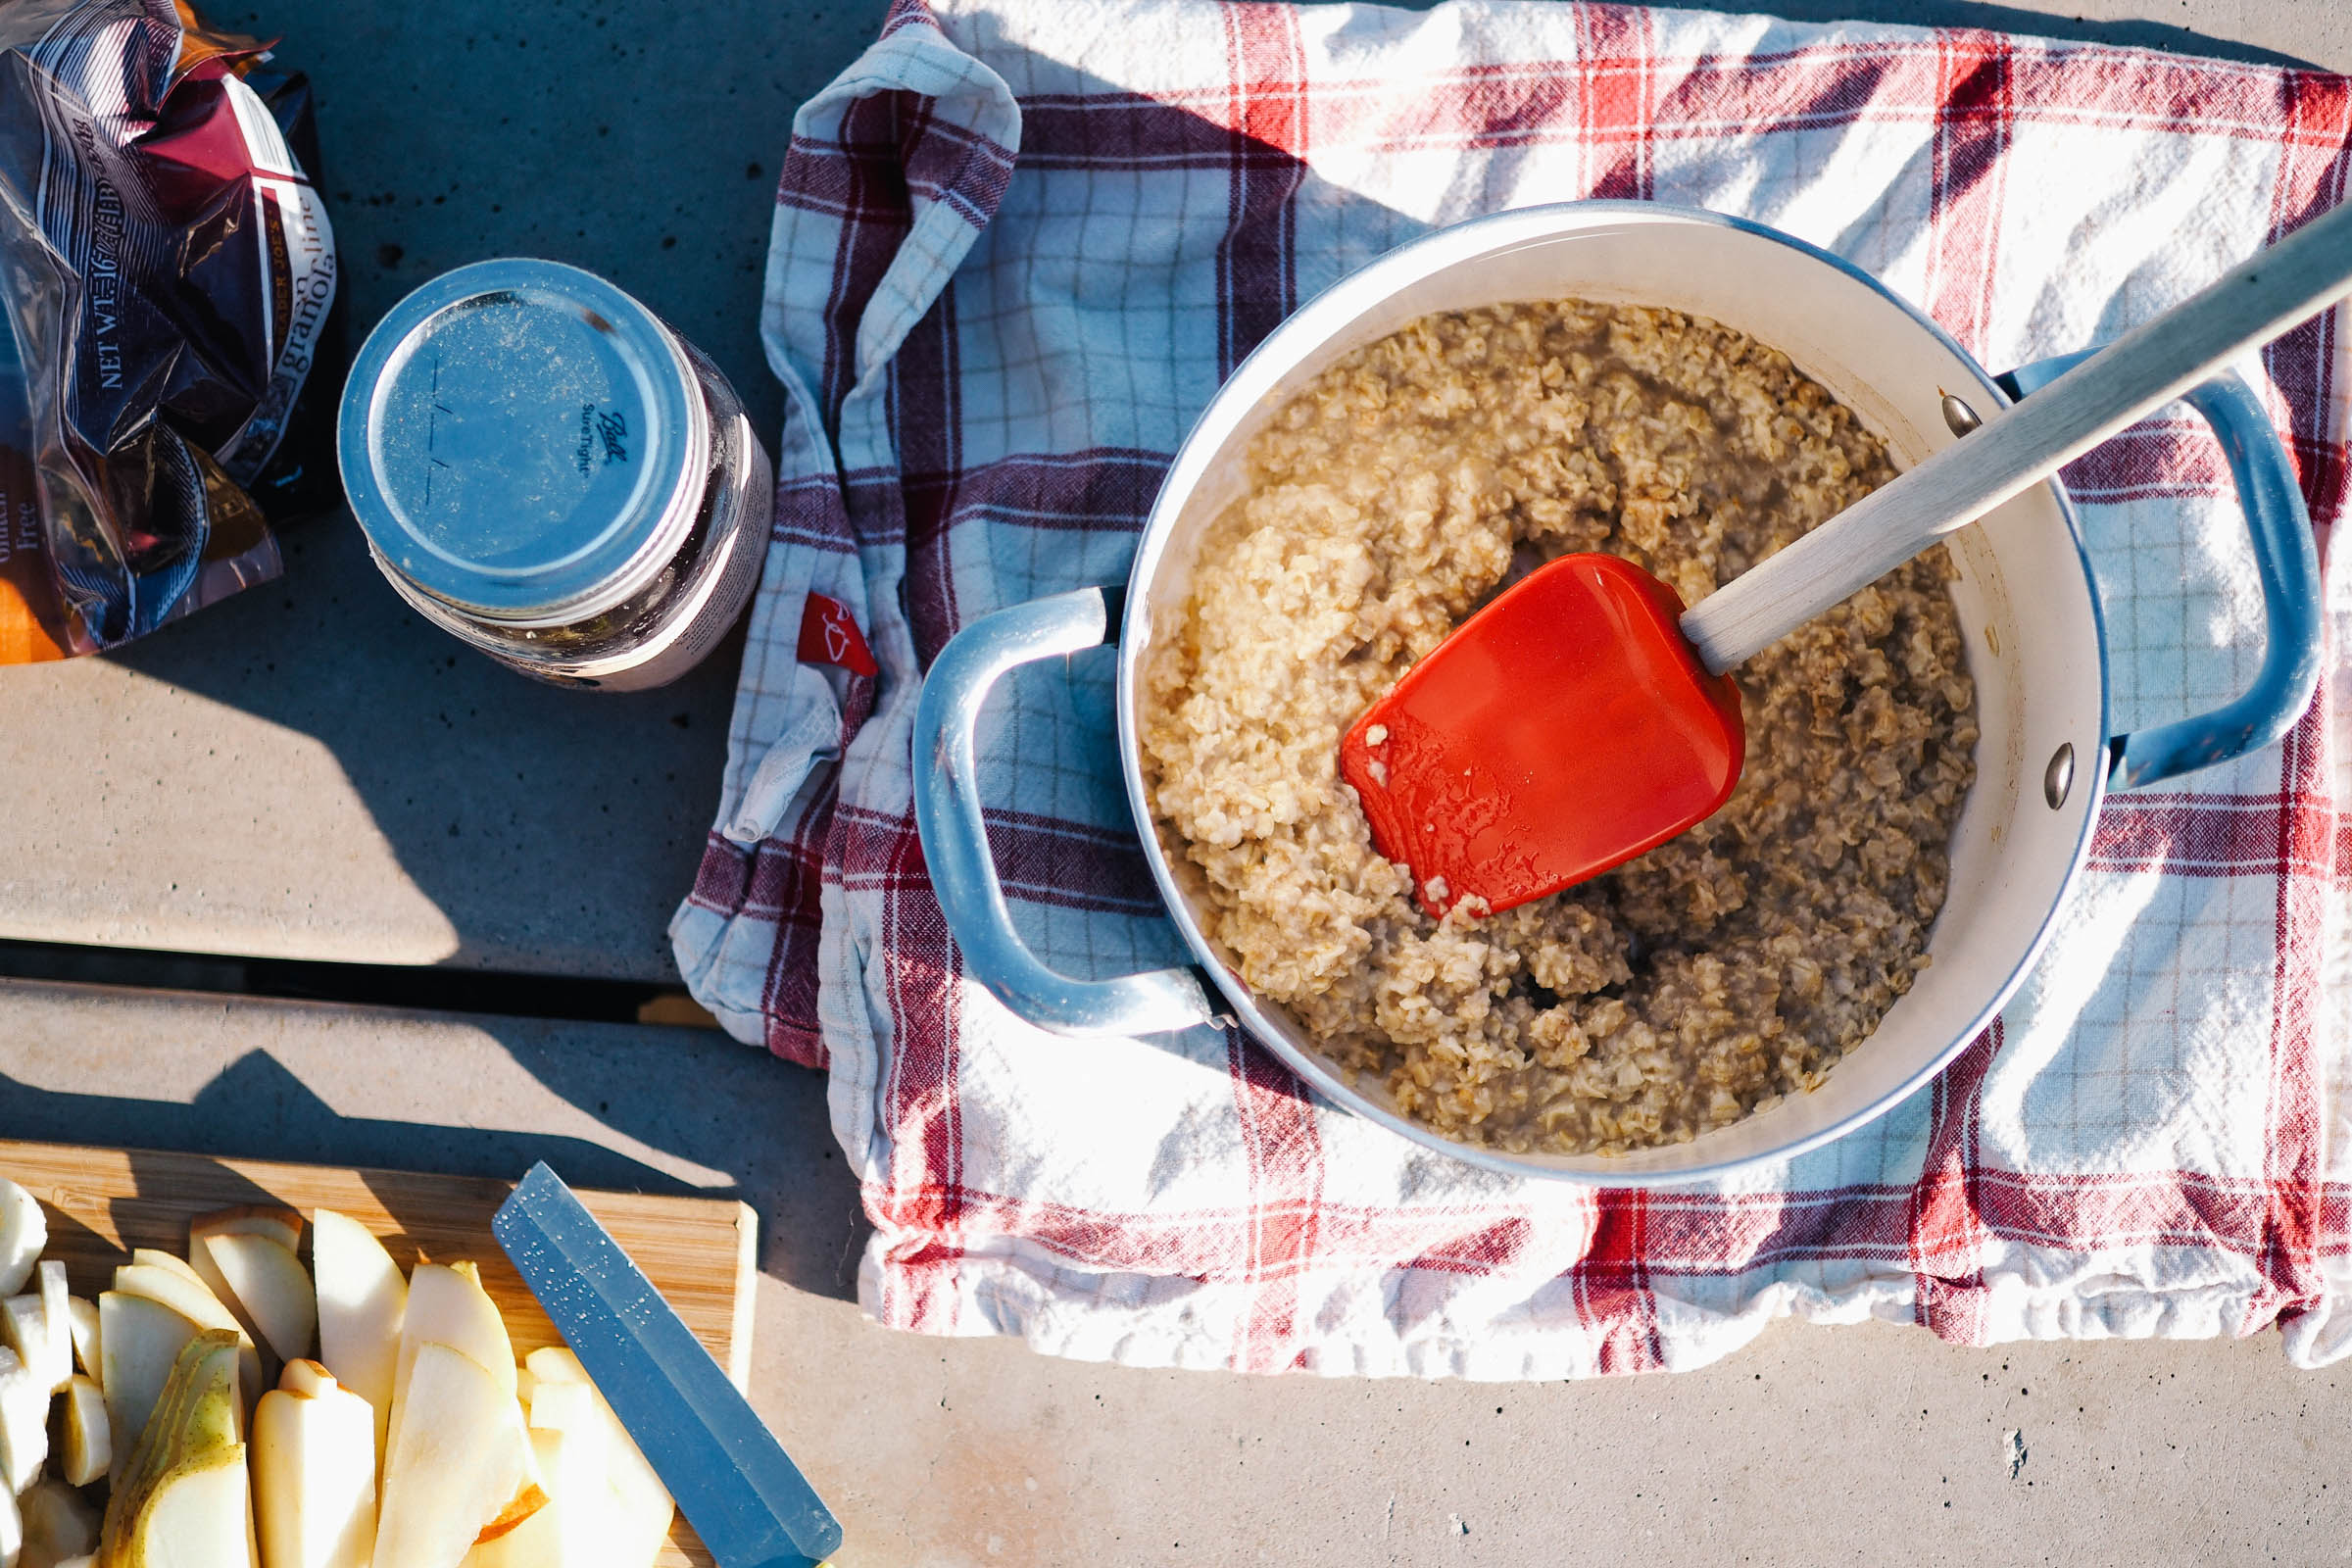
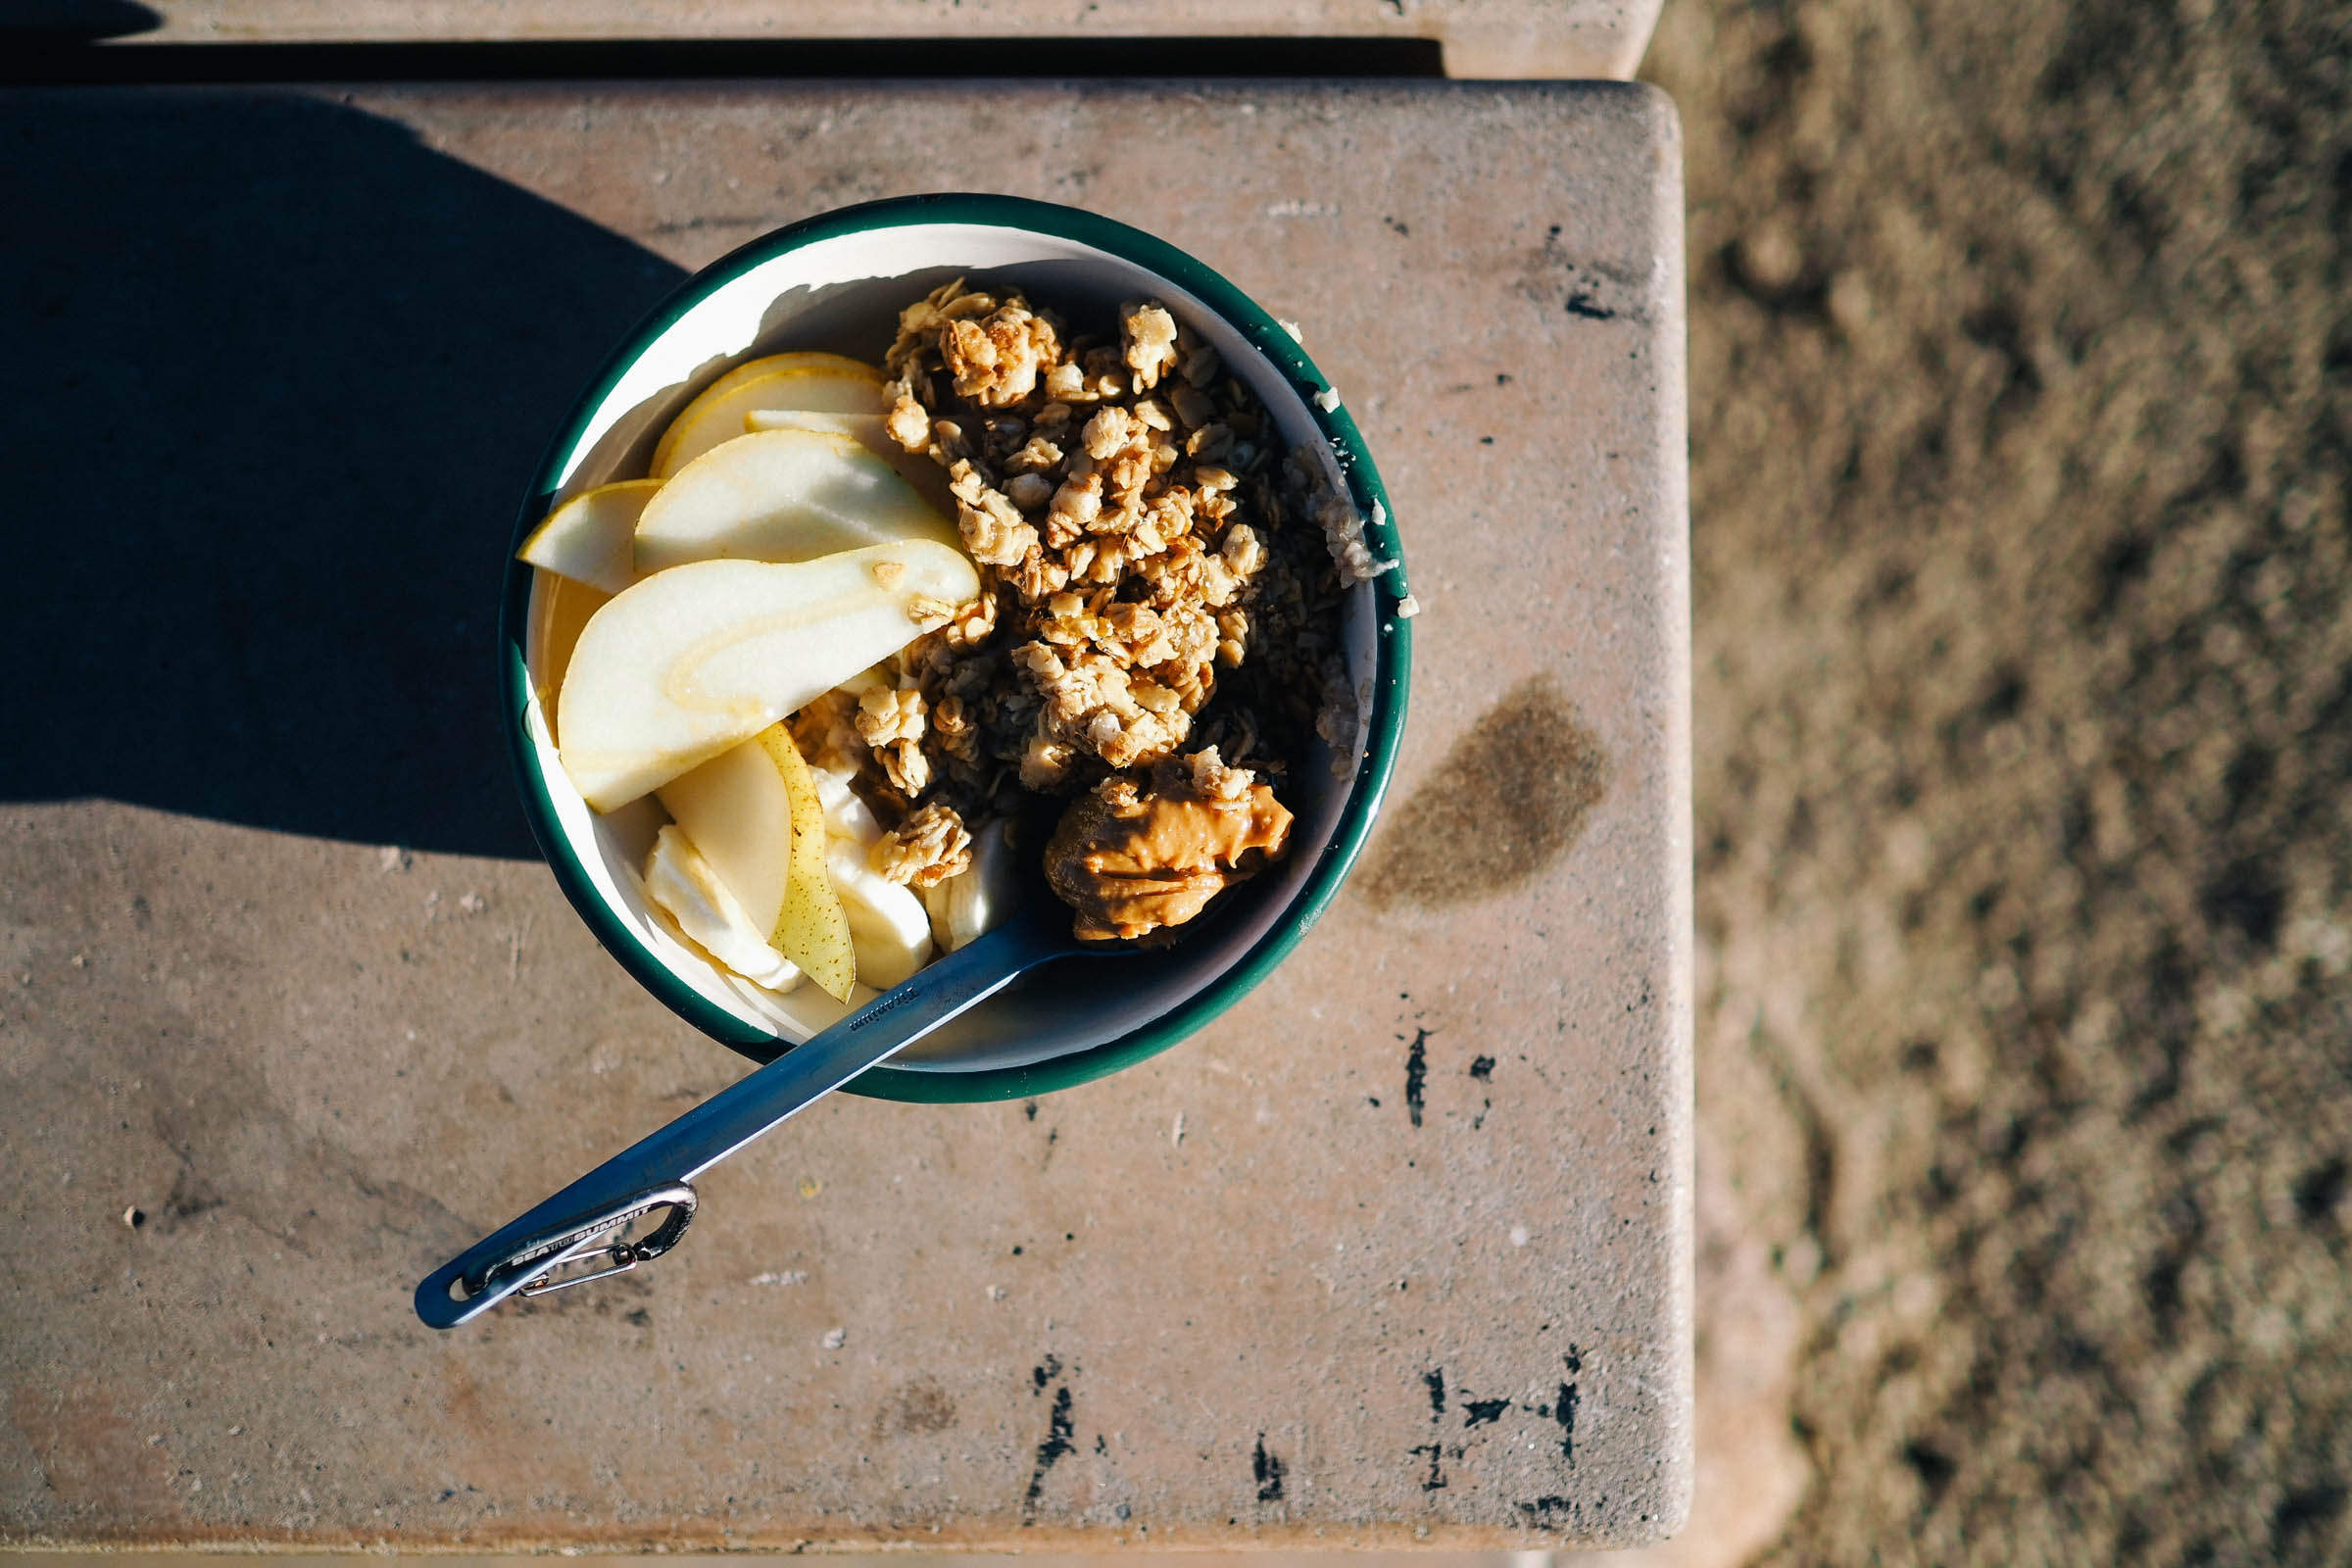
If you like it, oatmeal is a no brainer for both adventures on the road and adventures on the trail. It’s quick, full of good stuff, and easy to add plenty of other yummy ingredients to that will keep you full, for longer. We’d buy some instant oats in bulk, then pretty much toss in whatever we felt like. Toppings like pear, banana, honey, and peanut butter were the norm. To keep up with trends, we’d also often add coconut, chia seeds, and crunchy granola to put the ‘meal’ in oatmeal. The ingredients are tailored towards some generous servings, as we’d often head out on a ride or hike after eating breakfast. It’s big, quick, and hearty.
Prep & Cook Time 15 minutes
Yield 2 generous portions
Ingredients
• 1 cup instant oats (or your preferred variety of oats)
• 2 cups water
• 1 teaspoon cinnamon
• 1 banana
• 1 pear
• ½ cup strawberries
• 1 cup granola
• 1 cup unsweetened yogurt
• 2 tablespoons honey
• 2 tablespoons raw peanut butter
Method
Things can get out of hand quickly when making oatmeal, so get ready. Instant oats often call for a 1:2 ratio with water, so however much you cook, double that and that’s how much water you need. We’d usually go with 1 cup oats, 2 cups water. Put the water in your pot, and put the oats off to the side for now.
Next, prep the toppings. Chop them up real good. Add all of this, including yogurt, granola, and peanut butter to two bowls. Now we can get that water simmering, add in the oats and keep a close eye on it. The oats should only really need 2-3 minutes to cook, stir often, and once things are looking good remove from heat immediately. Quickly stir in some cinnamon. If you’re using non-instant oats, this step will require a bit extra time.
Lastly, add the cooked oats to the bowls, top with honey and anything else you want. If you have chia seeds or coconut, this would be the time to use them. Eat it!
Lunch: Quesadilla Party
Notes
I’m going out on a limb here by even including a lunch option, and might even be our most standard meal. But, for consistency's sake, I’ll include it. We’d often just make some sort of platter, a bunch of cut up vegetables, bread, hummus, maybe an apple. Depending on where we were and what we had in store for the day, this approach would change accordingly. For the most part we focused on quick lunches, things requiring little stove use or no cooking at all.
I’ve landed on a quesadilla recipe for a few different reasons. Tortillas take up little room, you can get corn options if you’re eating gluten free, and you can pretty much put anything in there. It’s also a great way to use up some ingredients that have been hanging out in your cooler or fridge for a day too long, which was important to us when trying to eliminate wasted food.
Prep & Cook Time 10 minutes
Yield 2 portions
Ingredients
• 2 tortillas of your preference
• ¼ - ½ cup of cheese (any will do)
• ½ cup of spinach
• ½ a pepper
• 2 tablespoons pesto
• 1 tablespoon oil
Method
To ensure the quesadilla process goes smoothly, you’ll want to make sure to cut everything going inside nice and thin. I’m talking a centimetre or less. We would often add onion or zucchini if we had it, but really most soft veggies work great here. For those on the hunt for more protein, try adding some refried beans to the mix. In a frying pan, on medium-low heat, add the oil and a few minutes later toss a full tortilla into the pan. Add the cheese, spinach, pepper, and pesto. Place the second tortilla on top. In a few minutes, or once the bottom starts to lightly brown, carefully flip the entire quesadilla party over and let cook for a few more minutes. Keep a close eye on things at this point, it’ll burn.
Remove from pan, slice in half, grab a friend, and enjoy. Adding in some ketchup, salsa, or avocado is a great way to spice things up a bit too.
Dinner: Rice Noodle Tofu Veggie Surprise
Notes
I got really hooked on rice noodles on this trip. They cook dang quick, are super cheap, and are gluten free if you need that. This dish is quick to prepare, warm, comforting, and totally healthy. It’s also super easy to swap out vegetables, add some meat instead of tofu, and use something like Pesto instead of the magic purple sauce we used.
Prep & Cook Time 20 minutes
Yield 2 portions
Ingredients
• 2 big fists of rice noodles
• 3 cups water
• 1 tablespoon of oil
• 200g smoked organic tofu (or your favourite protein)
• 2 big fists of kale
• 2 green onions
• Big chunk of zucchini
• Touch of salt
• Touch of pepper
• Blob of beet hummus
Method
Start things off by prepping the veggies. By that I mean chop them up into mouth sized pieces, which may differ depending on your individual mouth size. Put those aside. Next, get those rice noodles in some boiling water, around 3 cups be fine. Once boiling, leave them to simmer. Get your frying pan out, and on low heat, add the oil. Once the oil has warmed out, add the green onions and tofu. Continue to add the remaining vegetables as soon as the onions start to look translucent and the tofu browns up a touch. Keep an eye on the rice noodles during this time, they only really take 2-3 minutes to cook, and should be removed from heat when they are just barely tender. If the noodles finish before the rest, which is likely, just strain the water and cover with a lid to keep them warm.
If you’re super pro and your two burner stove manages to keep on chugging along, everything may just finish cooking around the same time. Once the veggies look super delicious, remove from heat and toss in a bit of salt and pepper. Add the noodles to two bowls, top with the veggie mix, and add a 1-2 tablespoons of some beet hummus or another preferred topping, like pesto. Eat it.
Final Thoughts
Fancy toast, eggs, quesadillas, warm salads… we made a bunch of other yummy creations that really aren’t that far off from our normal non-van diet. We rarely ate meat, partly due to the cost but also because of environmental reasons. We restricted drinking alcohol to special occasions, which would often occur in cool towns, after a bikepacking trip, or after meeting someone rad. We didn’t use measuring cups, we didn’t miss having multiple frying pans and pots of varying sizes, and although washing dishes on the ground was sometimes frustrating, it was perfect for our first go at this whole van life thing.
Links to more of Miles’ life on a bike, in a van and much more:
bikepacking.com
Instagram: @MilesArbour


